Background
My partner is into video content creation as a hobby, so there’s a need for us to store many gigabytes of video files. I’ve been achieving this by having the files stored in used hard drives. I used them as cold storage, putting them on an HDD docking station and copying files over. I also manually maintained a “RAID 1” setup by making two copies of each file on two hard drives. This works, as used hard drives are cheap, data safety is there (to some degree) by having two copies, and we don’t need constant access to all the files. My partner would have another docking station to read the files for editing.
I only knew a little about the tape medium for data storage – how the tape itself is relatively cheap for the space but the drive is not. Hence I wasn’t really prepared to drop some big money and get a used working drive but was keeping an eye out for anything in the used market.
In February, I got lucky and managed to get two “non-functional” LTO-6 tape drives for $1, hoping that I could have a go at repairing them or mix and match parts to get a functional drive.
The Tape Drive
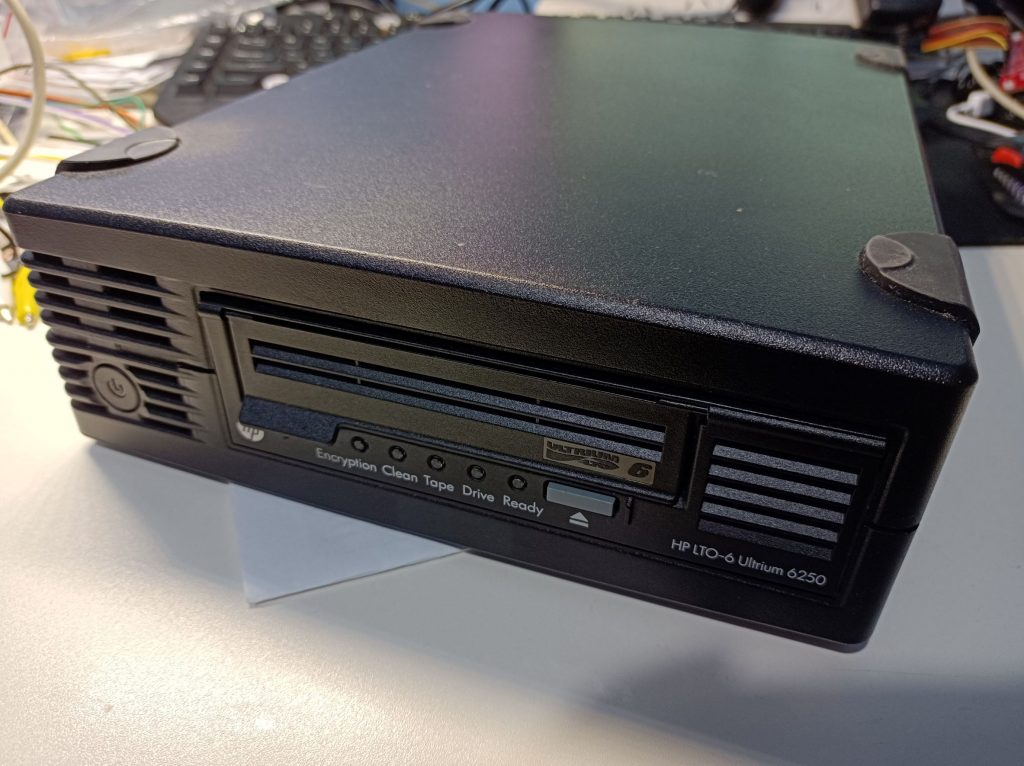
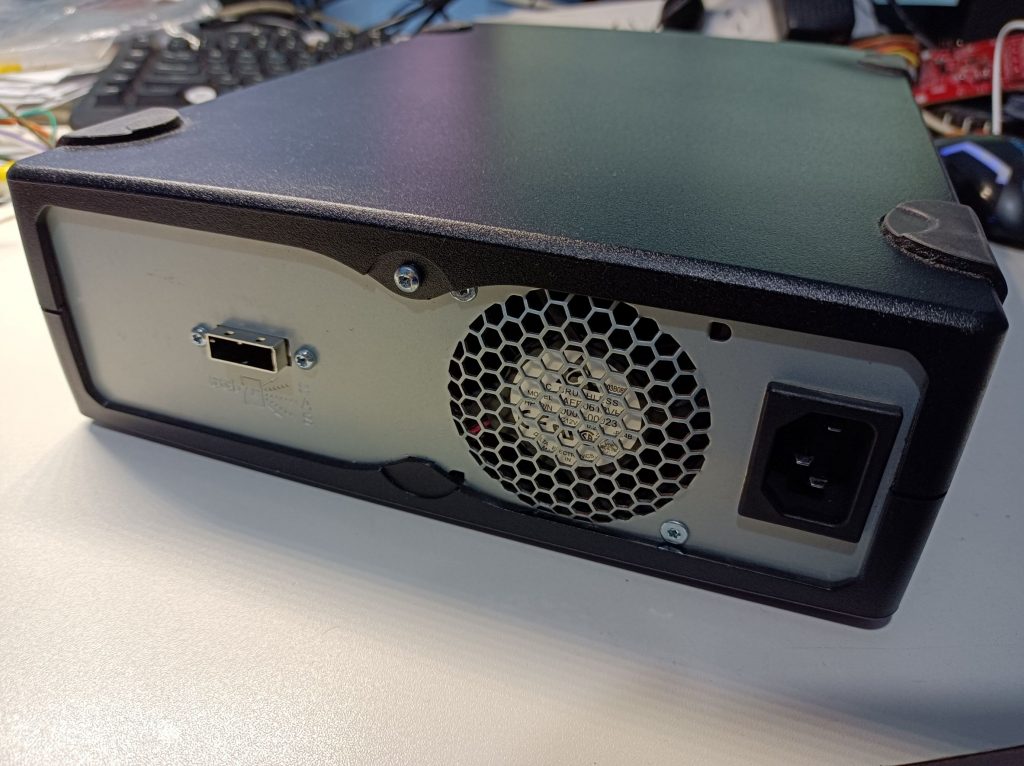
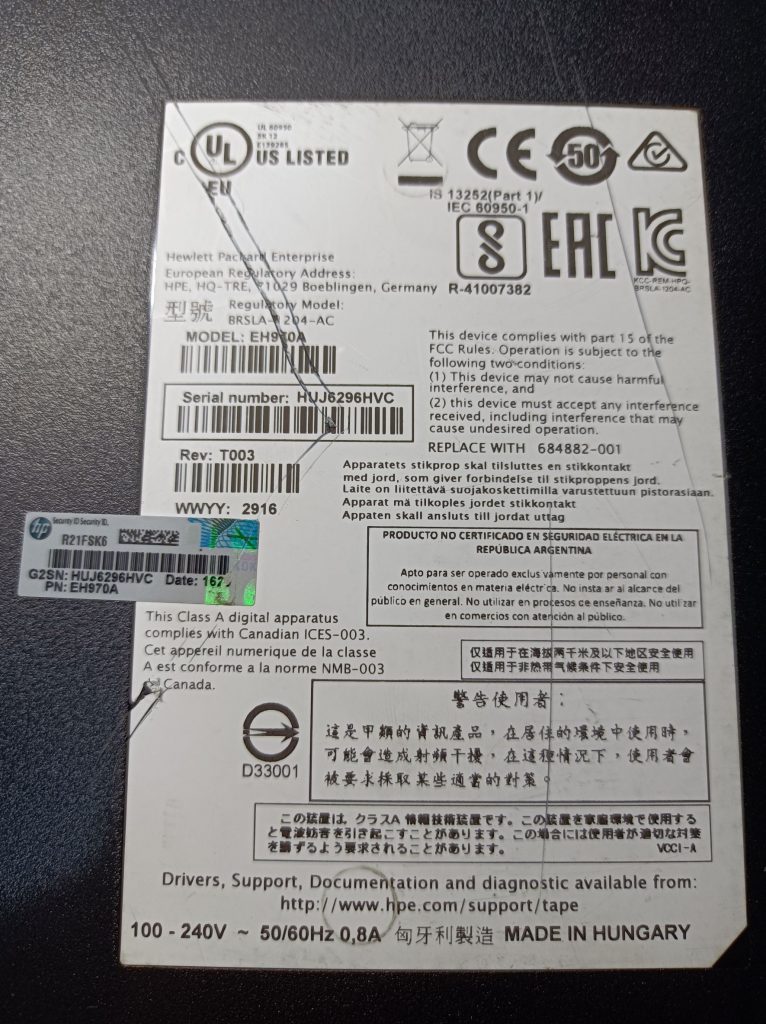
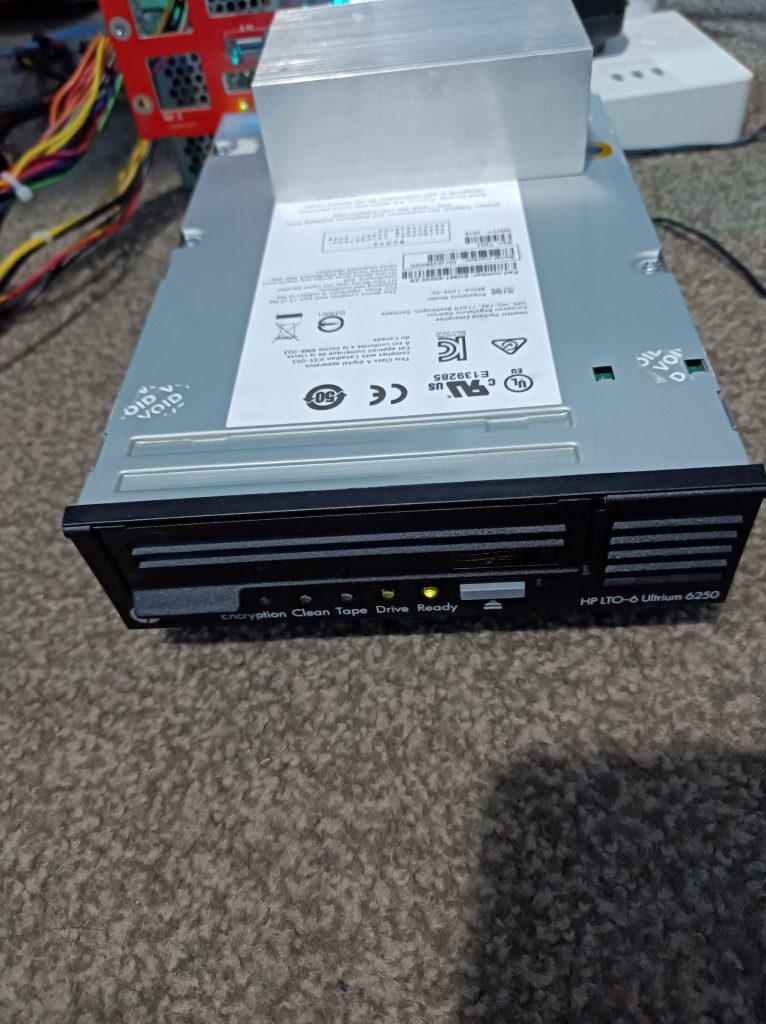
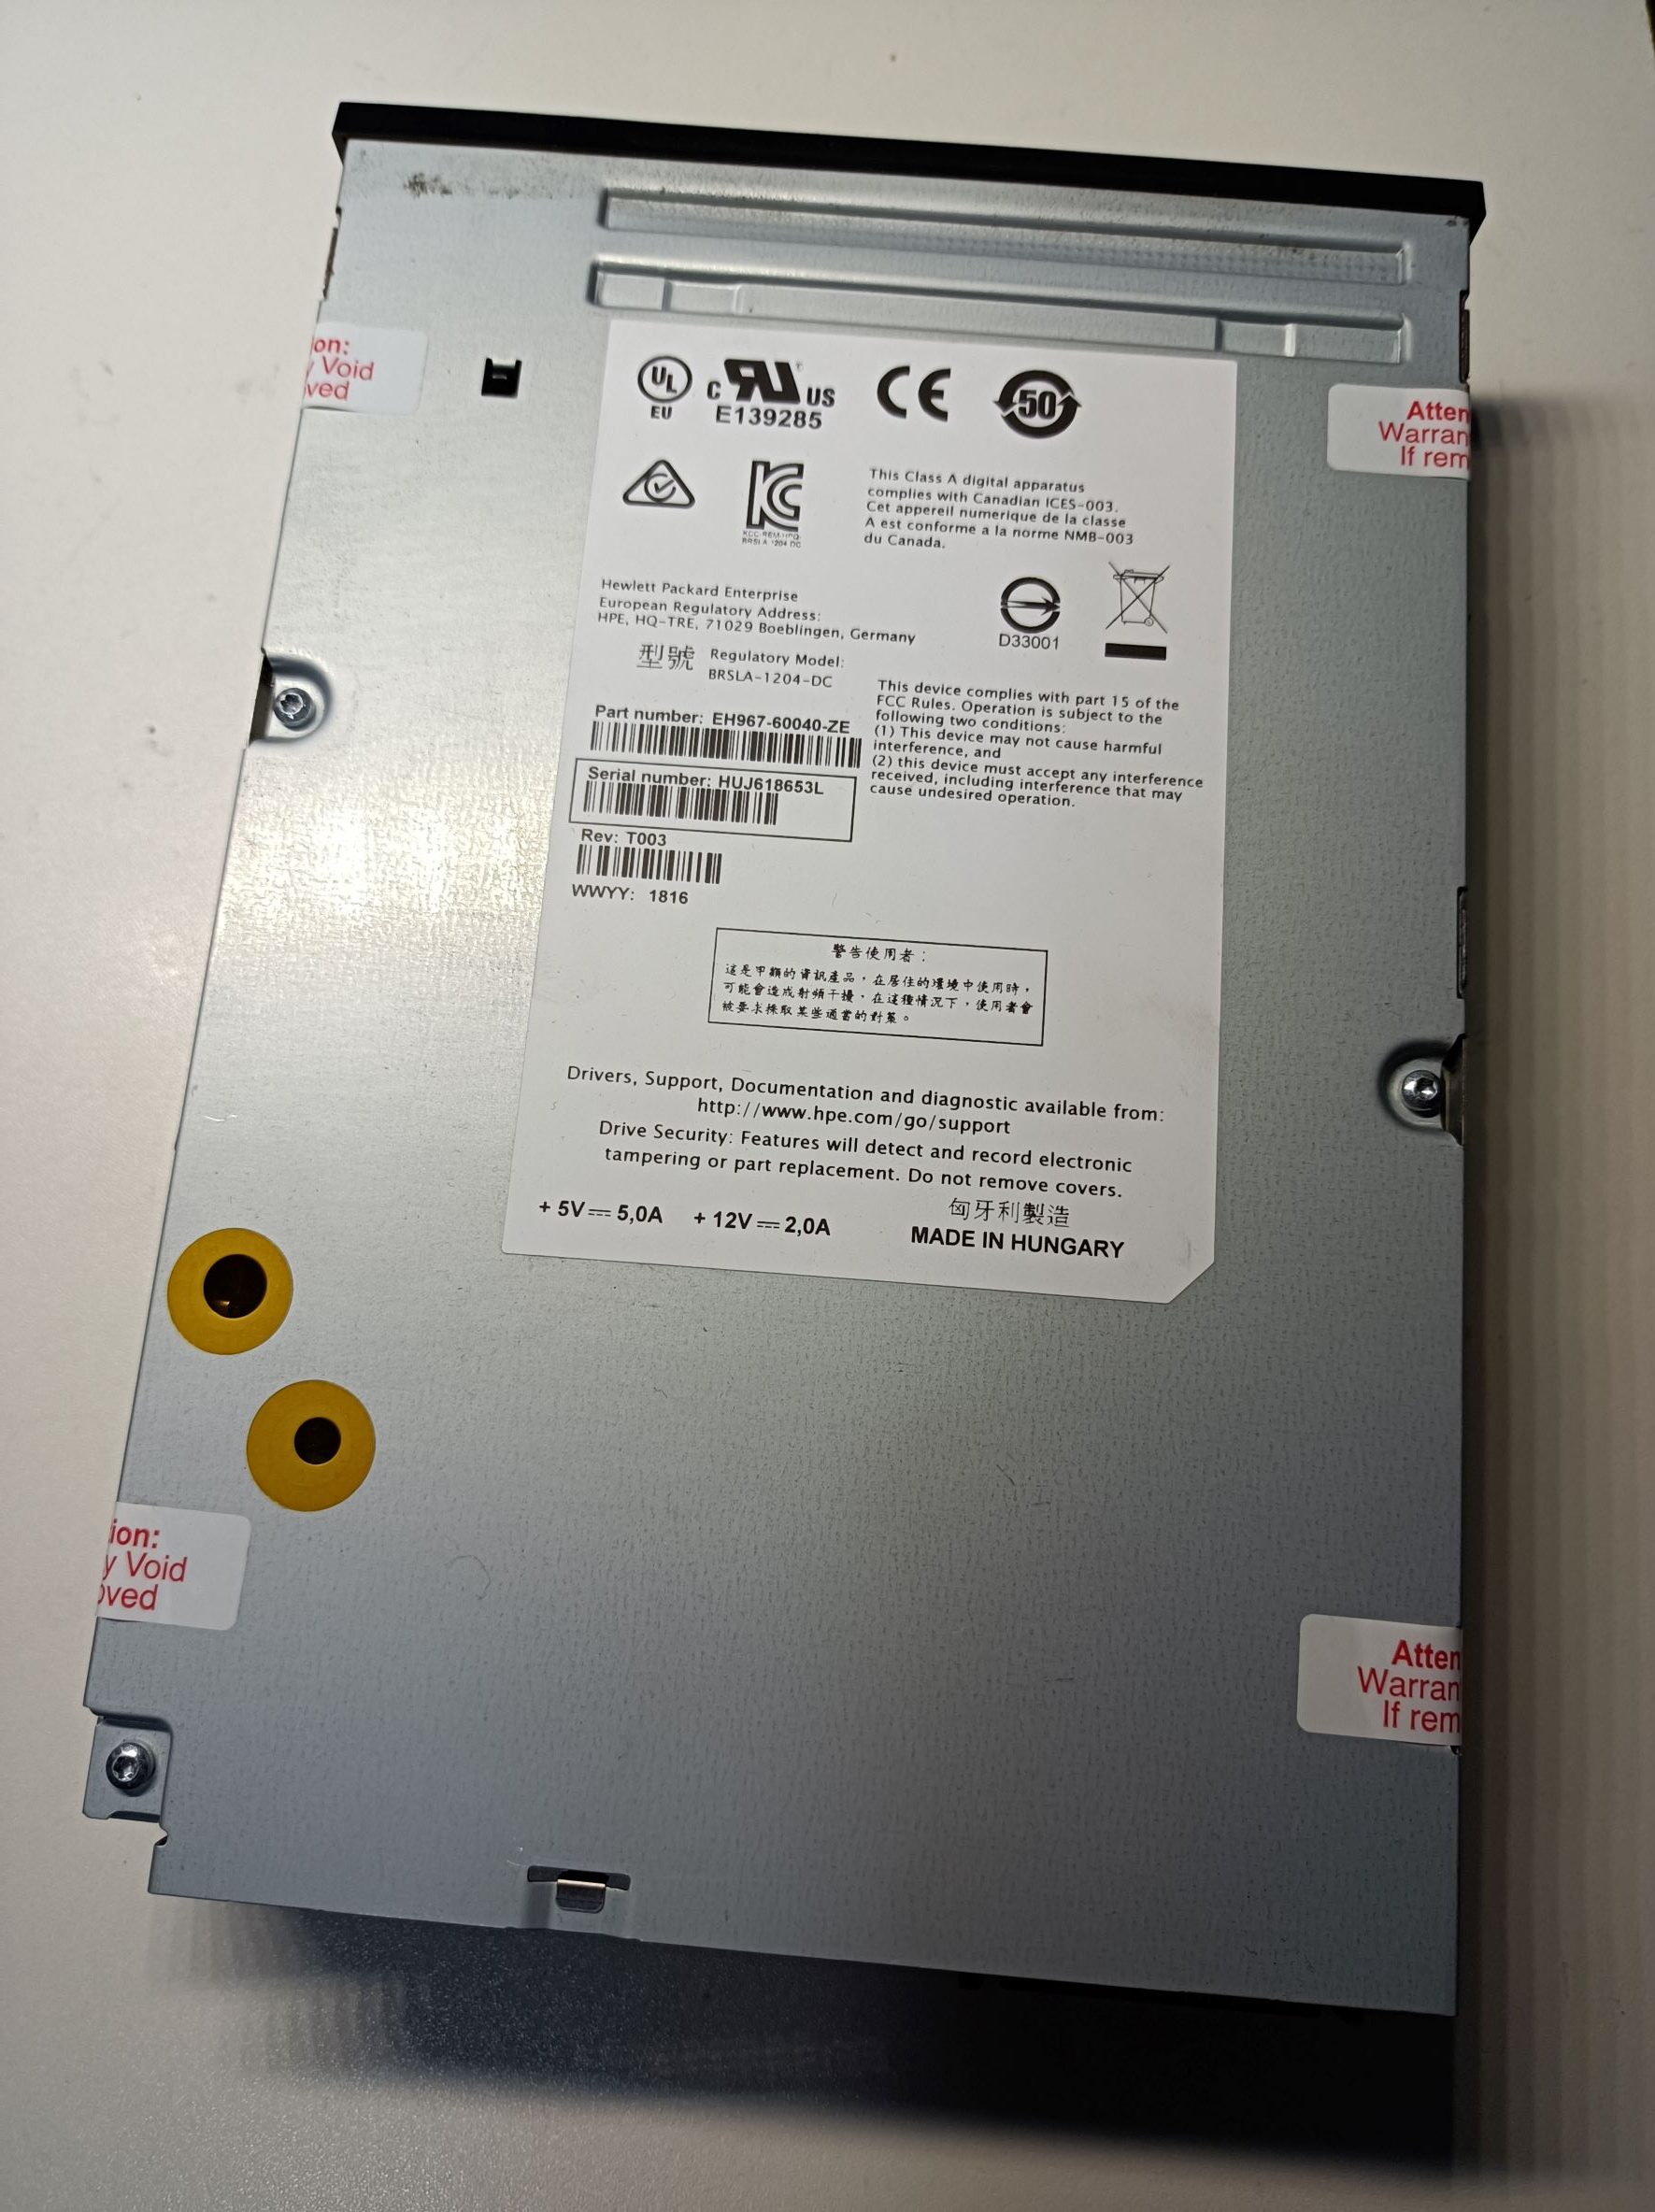
The drives I got are the HP LTO-6 Ultrium 6250, with a SAS interface (SFF-8088). The two drives look identical. The label says the part number is EH970A, the regulatory model is BRSLA-1204-AC, and the HP spare P/N is 684882-01. It’s an external drive with its own power supply, which also suits my needs better than say, a tape library or an internal tape drive. Having the SAS interface also makes it easier than the Fibre Channel, as I can test it with the onboard SATA/SAS ports of my PC (Dell T3600, which supports SAS drives). Otherwise, I would need to get another FC card upfront, when I didn’t even know if the drives are fixable. Although I only came up with this argument after learning about tape drives and it looks like I was just lucky to get an easy-to-set-up type.
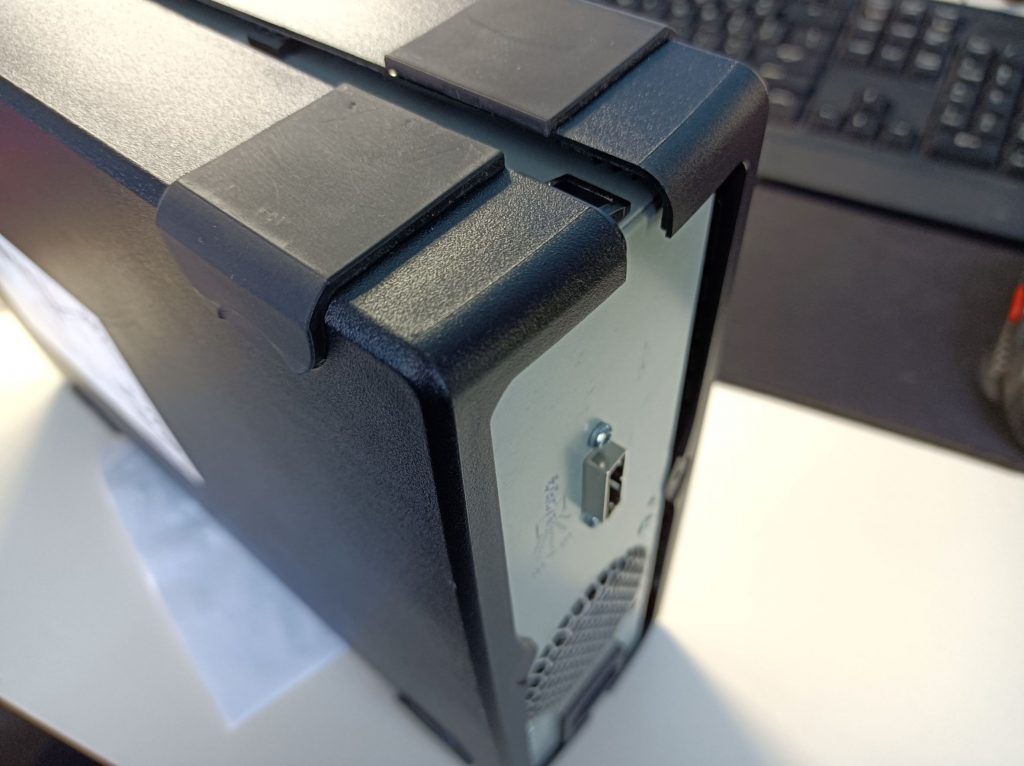
The external enclosure can be easily disassembled by undoing the one T9 Torx screw at the back and releasing the two plastic clips near the back corner of the case using a flat-head screwdriver (carefully pry the lid outward to release the clips). The lid is hinged at the front and can then be opened. There’s no need to remove the rubber feet.
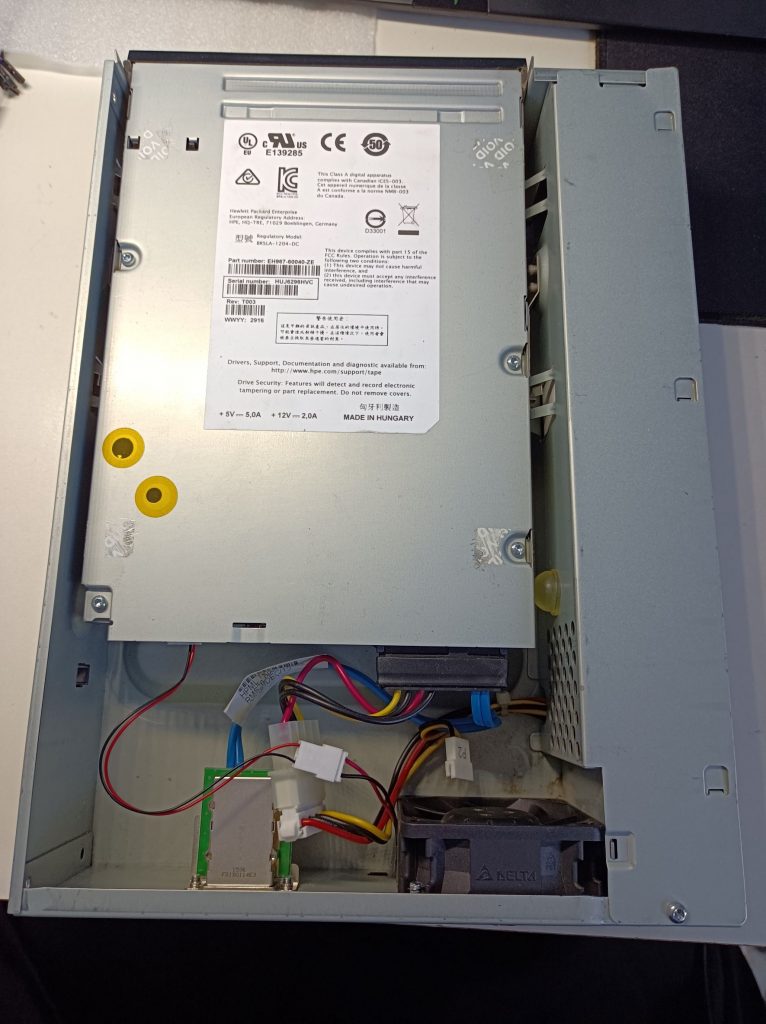
The inside of the drive is pretty simple – just a power supply, a half-height internal tape drive module, a fan and the SAS port. The internal drive has the SFF-8482 interface, which is the same as seen on common SAS hard drives. The power supply connector to the drive is just a standard Molex 4-pin connector, commonly seen with ATX power supplies.
The Problem, and Testing
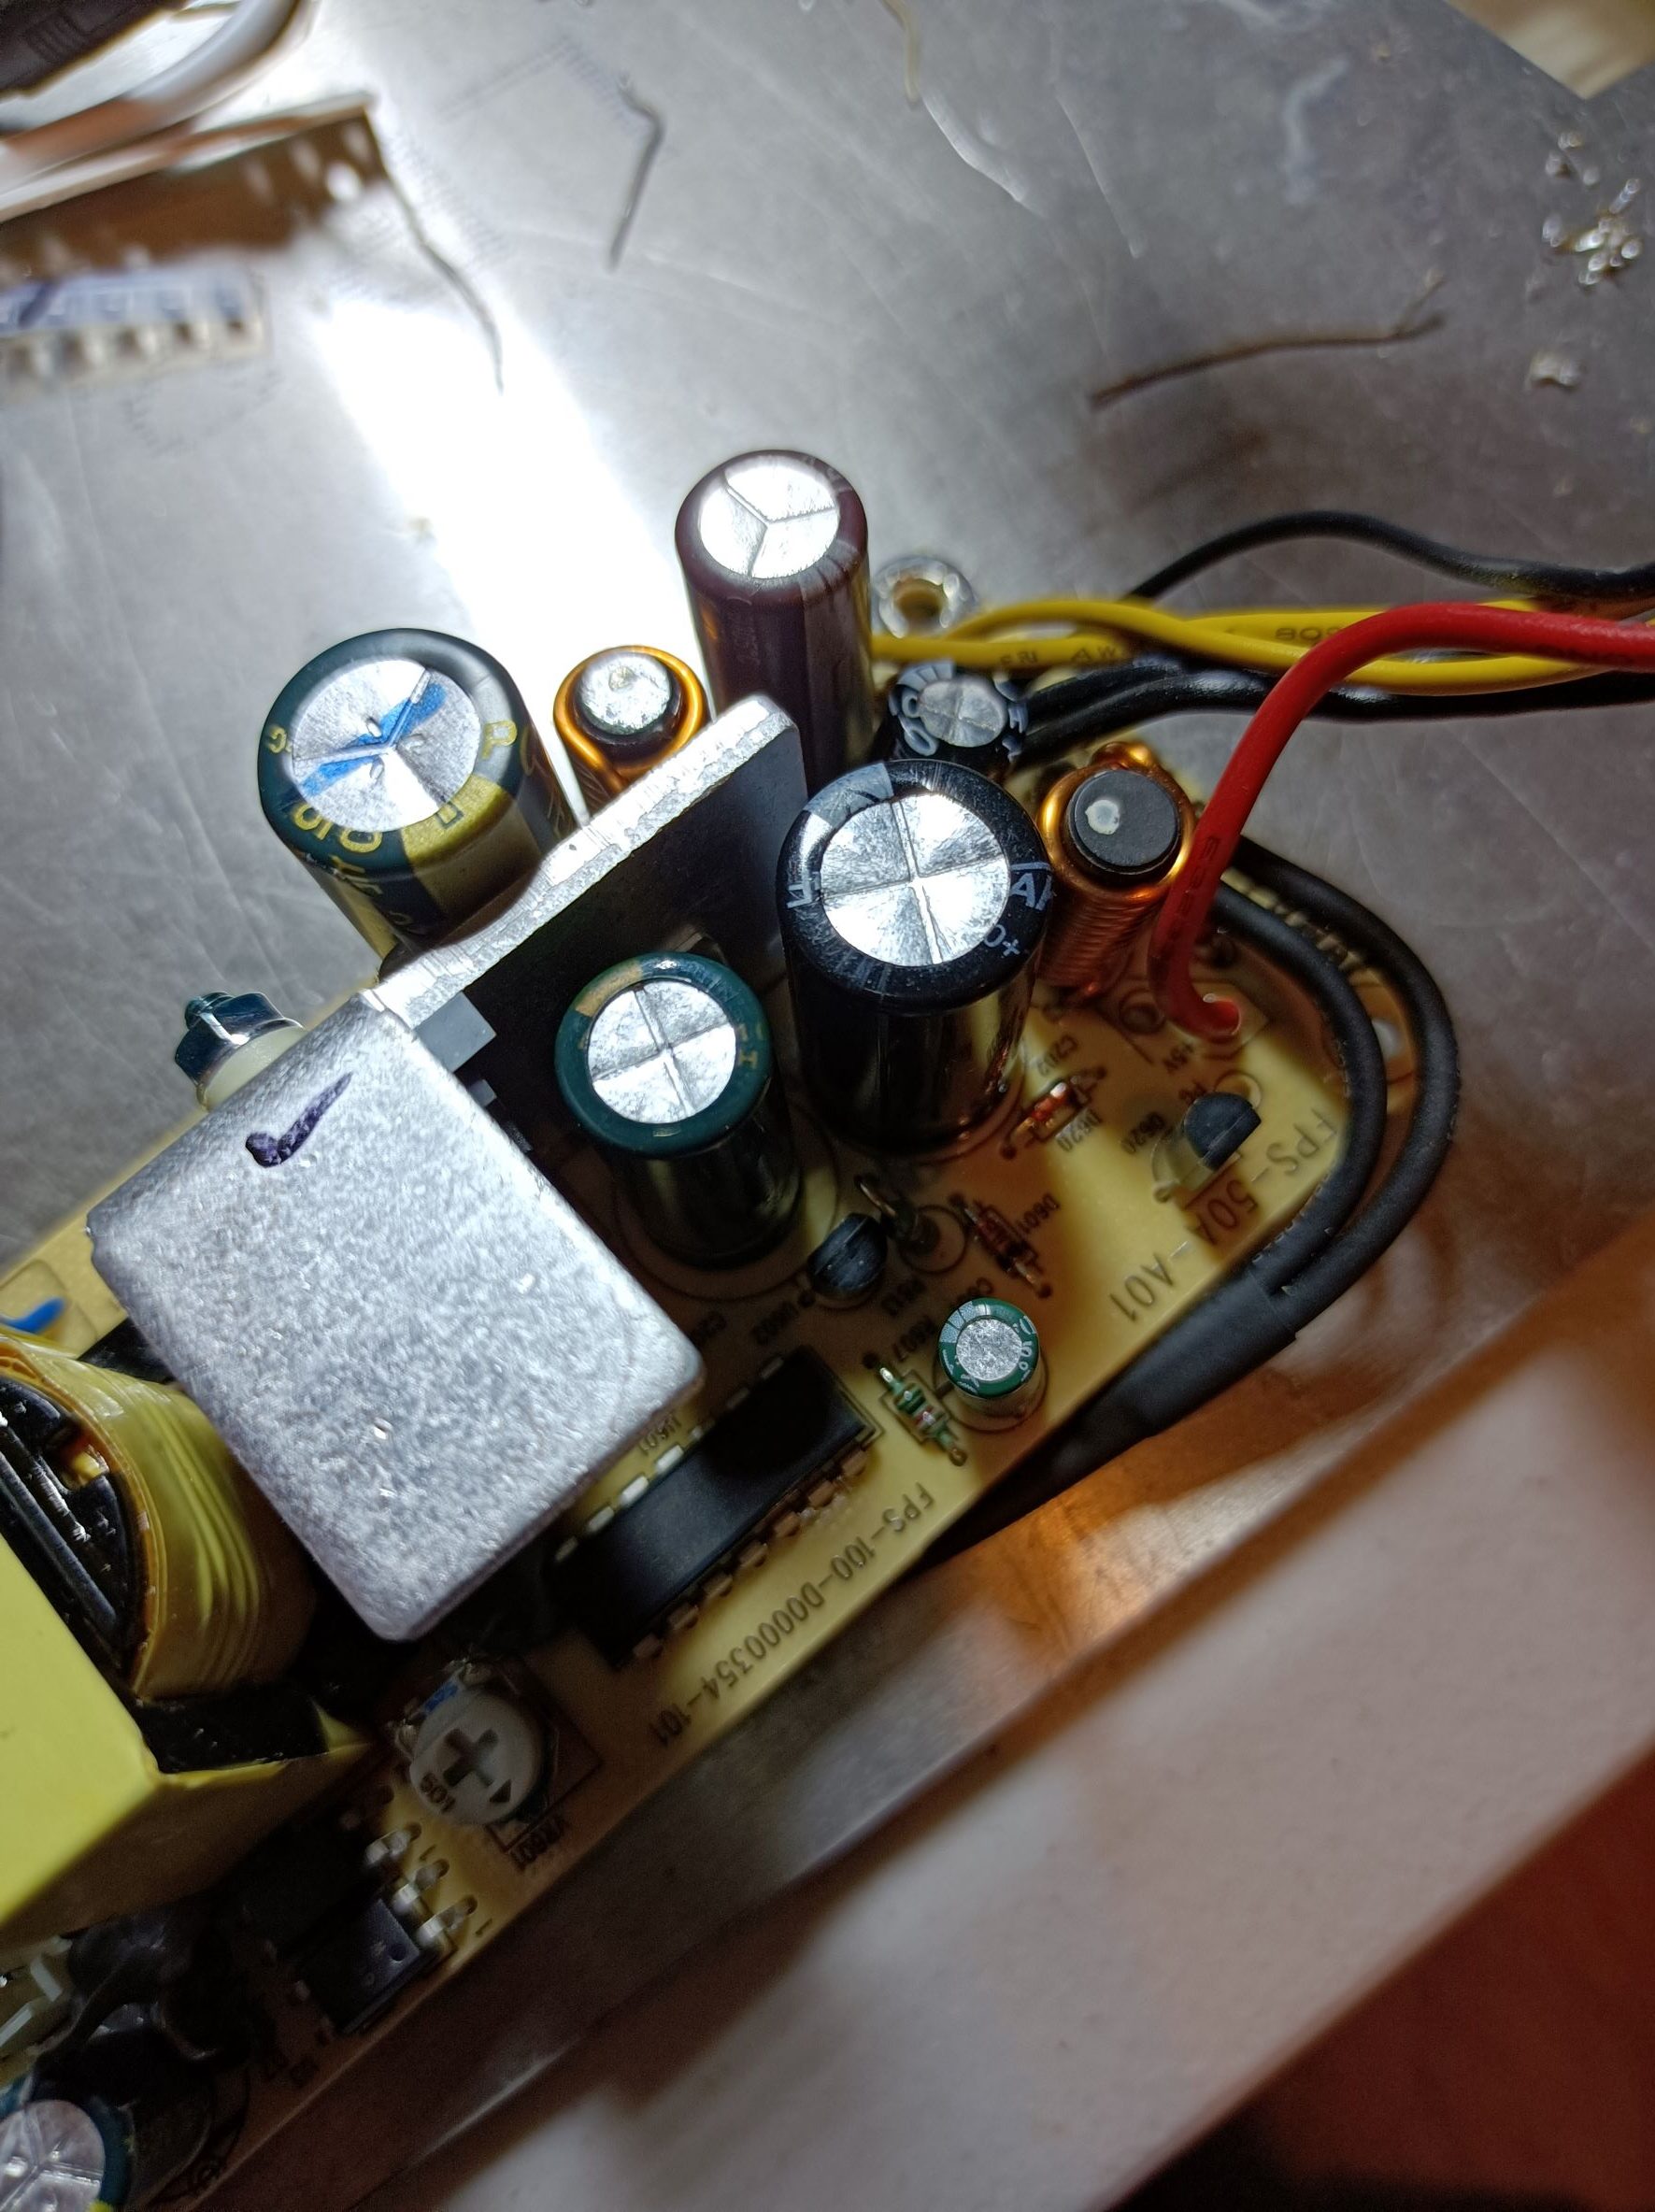
Just by further inspection, I noticed the output capacitors in the power supply aren’t looking good:
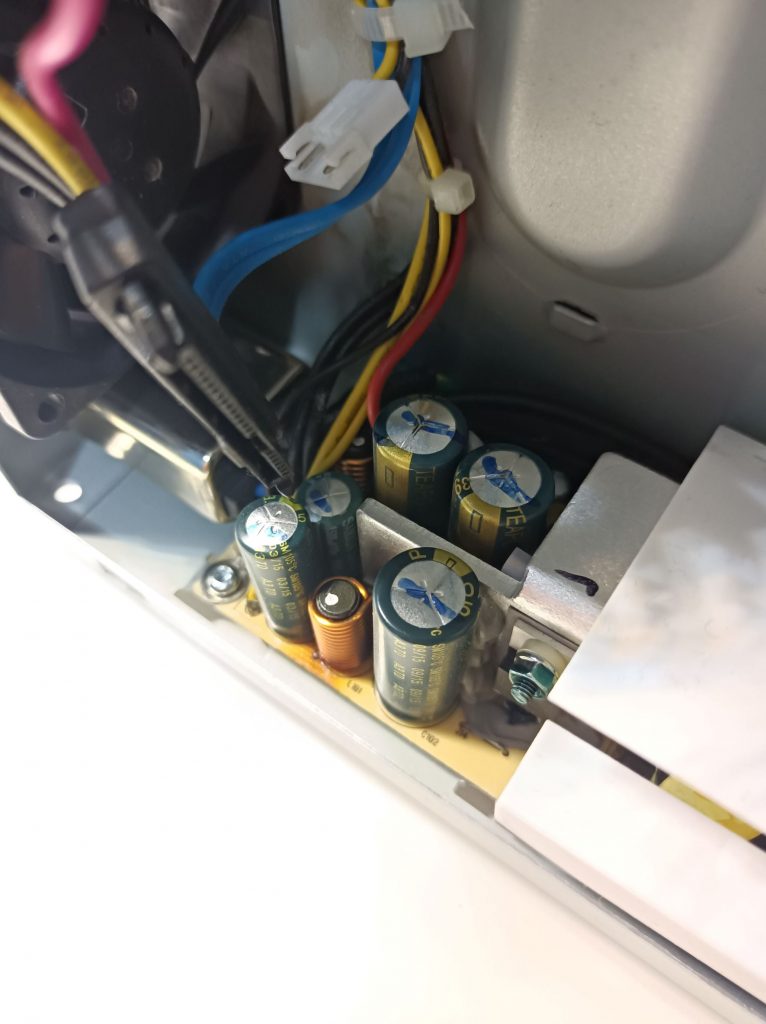
This kind of failure usually happens if the capacitors are in an elevated temperature for a long time. Once this has happened, the capacitors lose much of their capacity and the ESR goes much higher, meaning the output of the power supply is no longer a nice, clean DC. The fix would usually be as simple as just replacing the failed capacitors.
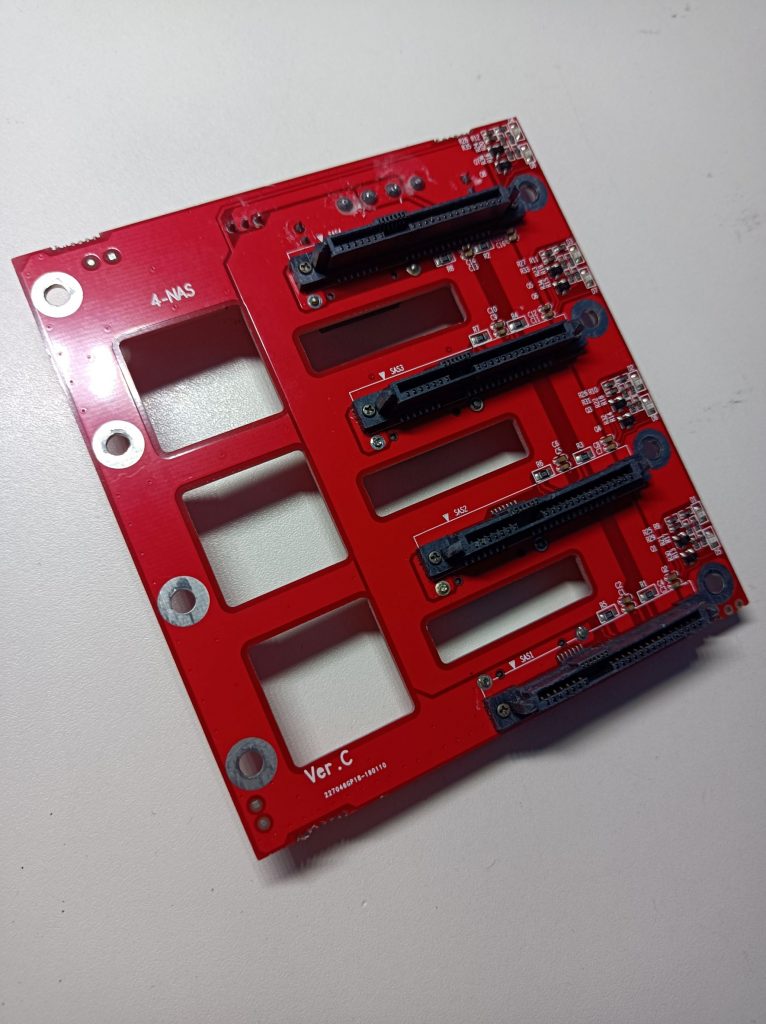
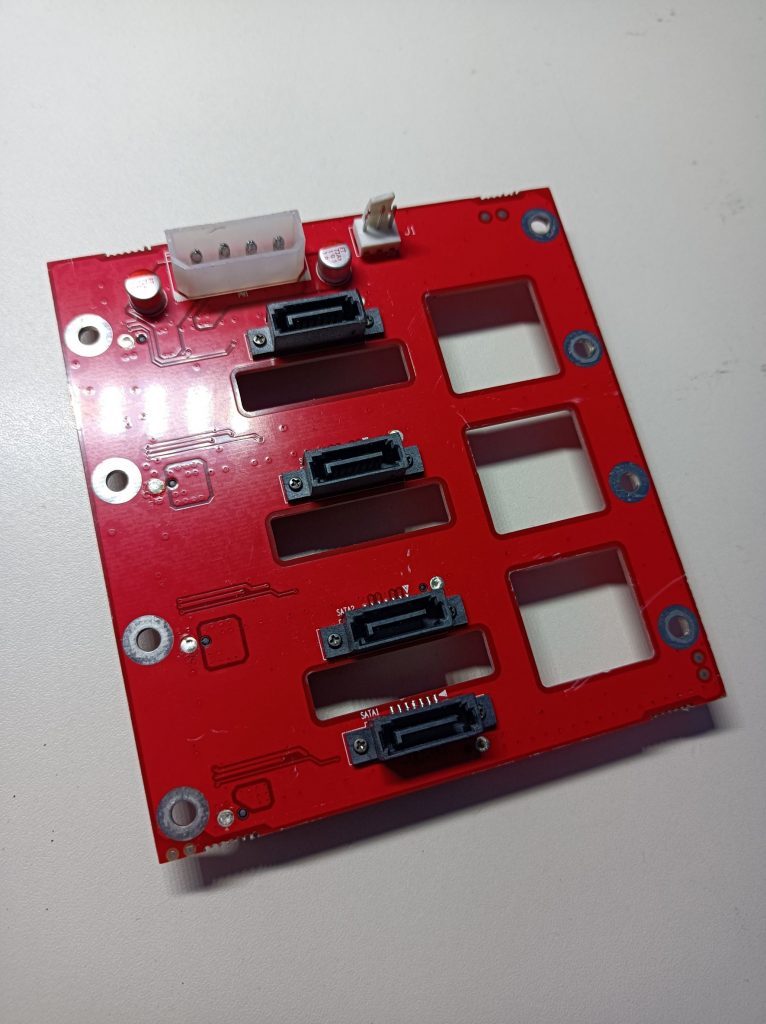
Now, the next question was whether the internal drive was still okay and if there were other problems. I happen to have a NAS backplane PCB that can passively convert the SFF-8482 to a common SATA port so I could hook the drive up to my PC. I just used an ATX power supply to provide the 12V and 5V power. Considering it would be running without the case fan, I placed a big heat sink on top to help with cooling.
Luckily enough, once the driver was installed, the tape drive was correctly recognised by the PC! I then proceeded to install the HPE Library and Tape Tools, which allows the reading of a wide range of diagnostic parameters of the drive. Below are some of the key stats:
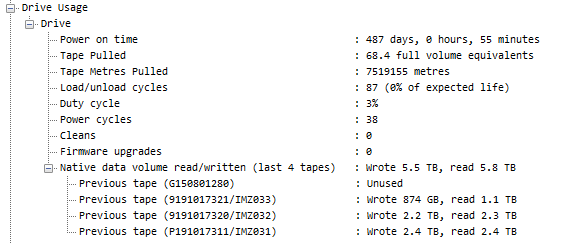

Looks like I got a great deal 😀 even though the drive has been powered on for over a year, it’s only been used with a total load/unload cycle count of 87 and still has 99% of life remaining. The long power-on time might explain the capacitor failures.
I then ran a diagnostic test (LTO Drive Assessment Test) using the HPE tool with an LTO-5 tape, which passed as well. The LTO standard has a nice backward compatibility feature, allowing read/write operations for tapes one generation behind and read operations for tapes two generations behind, hence I used a cheaper LTO-5 tape for testing.
It was the same story for the other drive: bulged capacitors in the power supply and similar stats in the diagnostic log. The tests were passed with no problems too. Big win! Even if the power supply wasn’t fixable I would still be happy. (Spoiler: they were easy fixes :D)
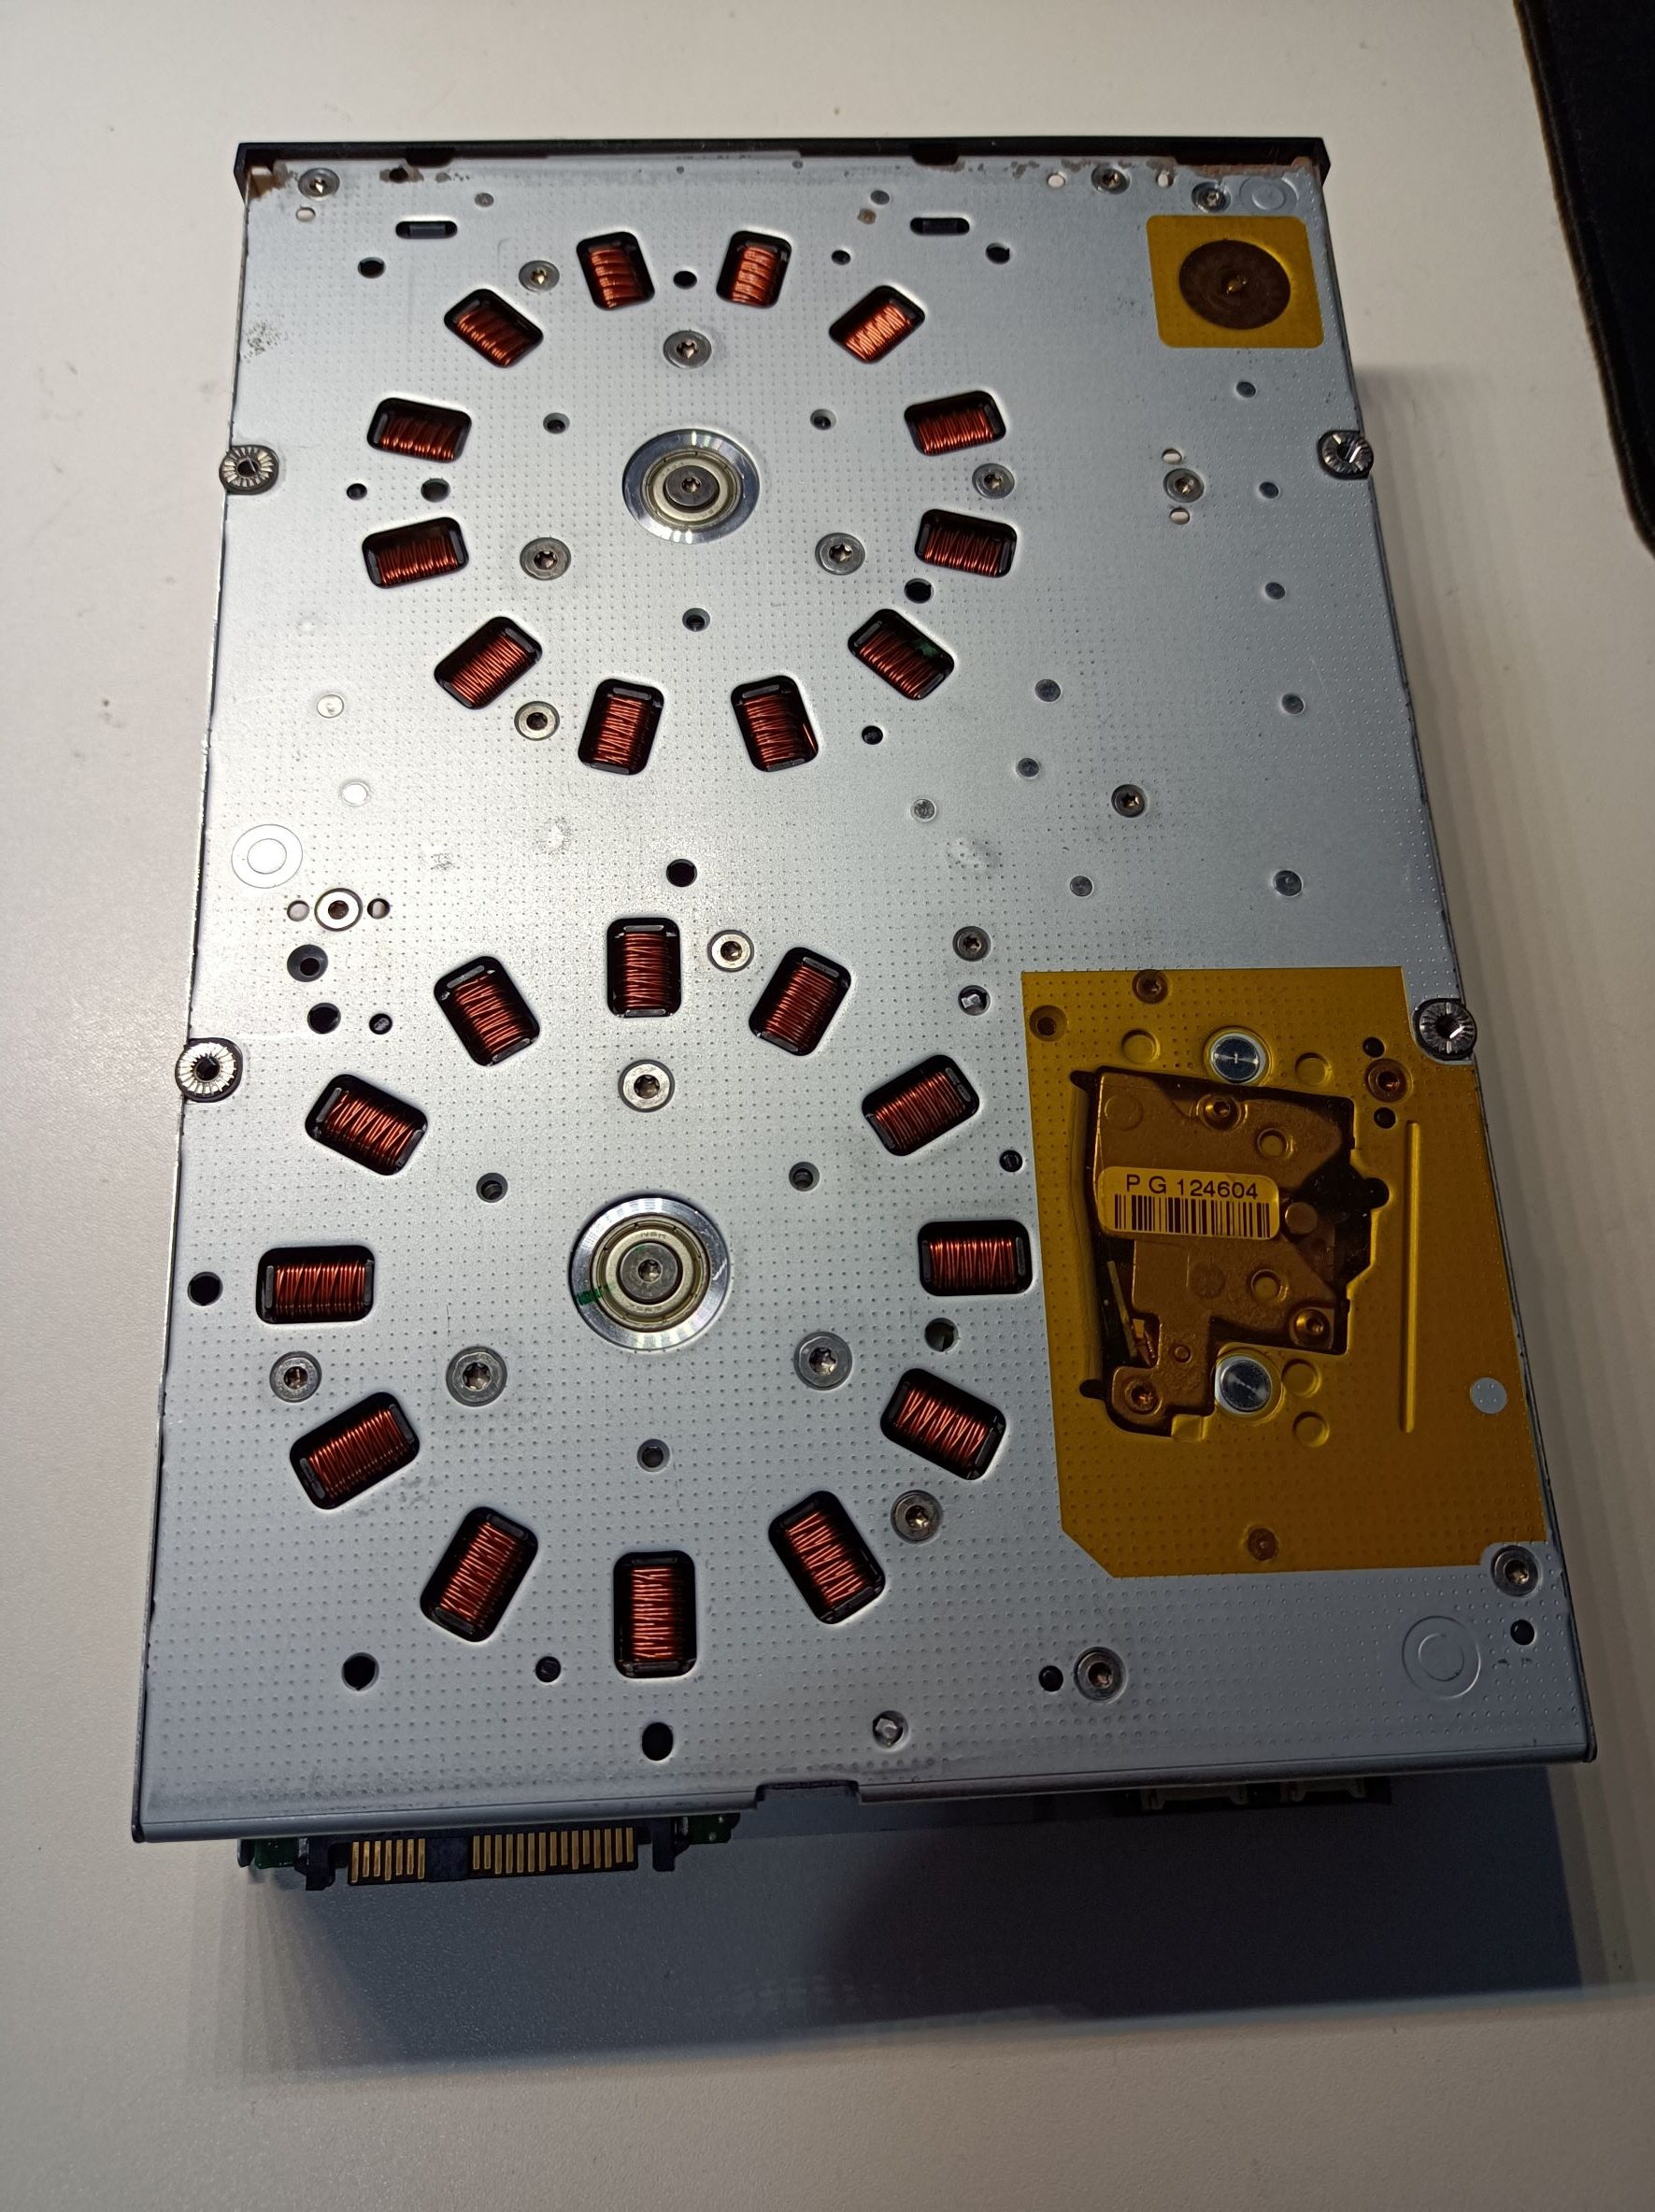
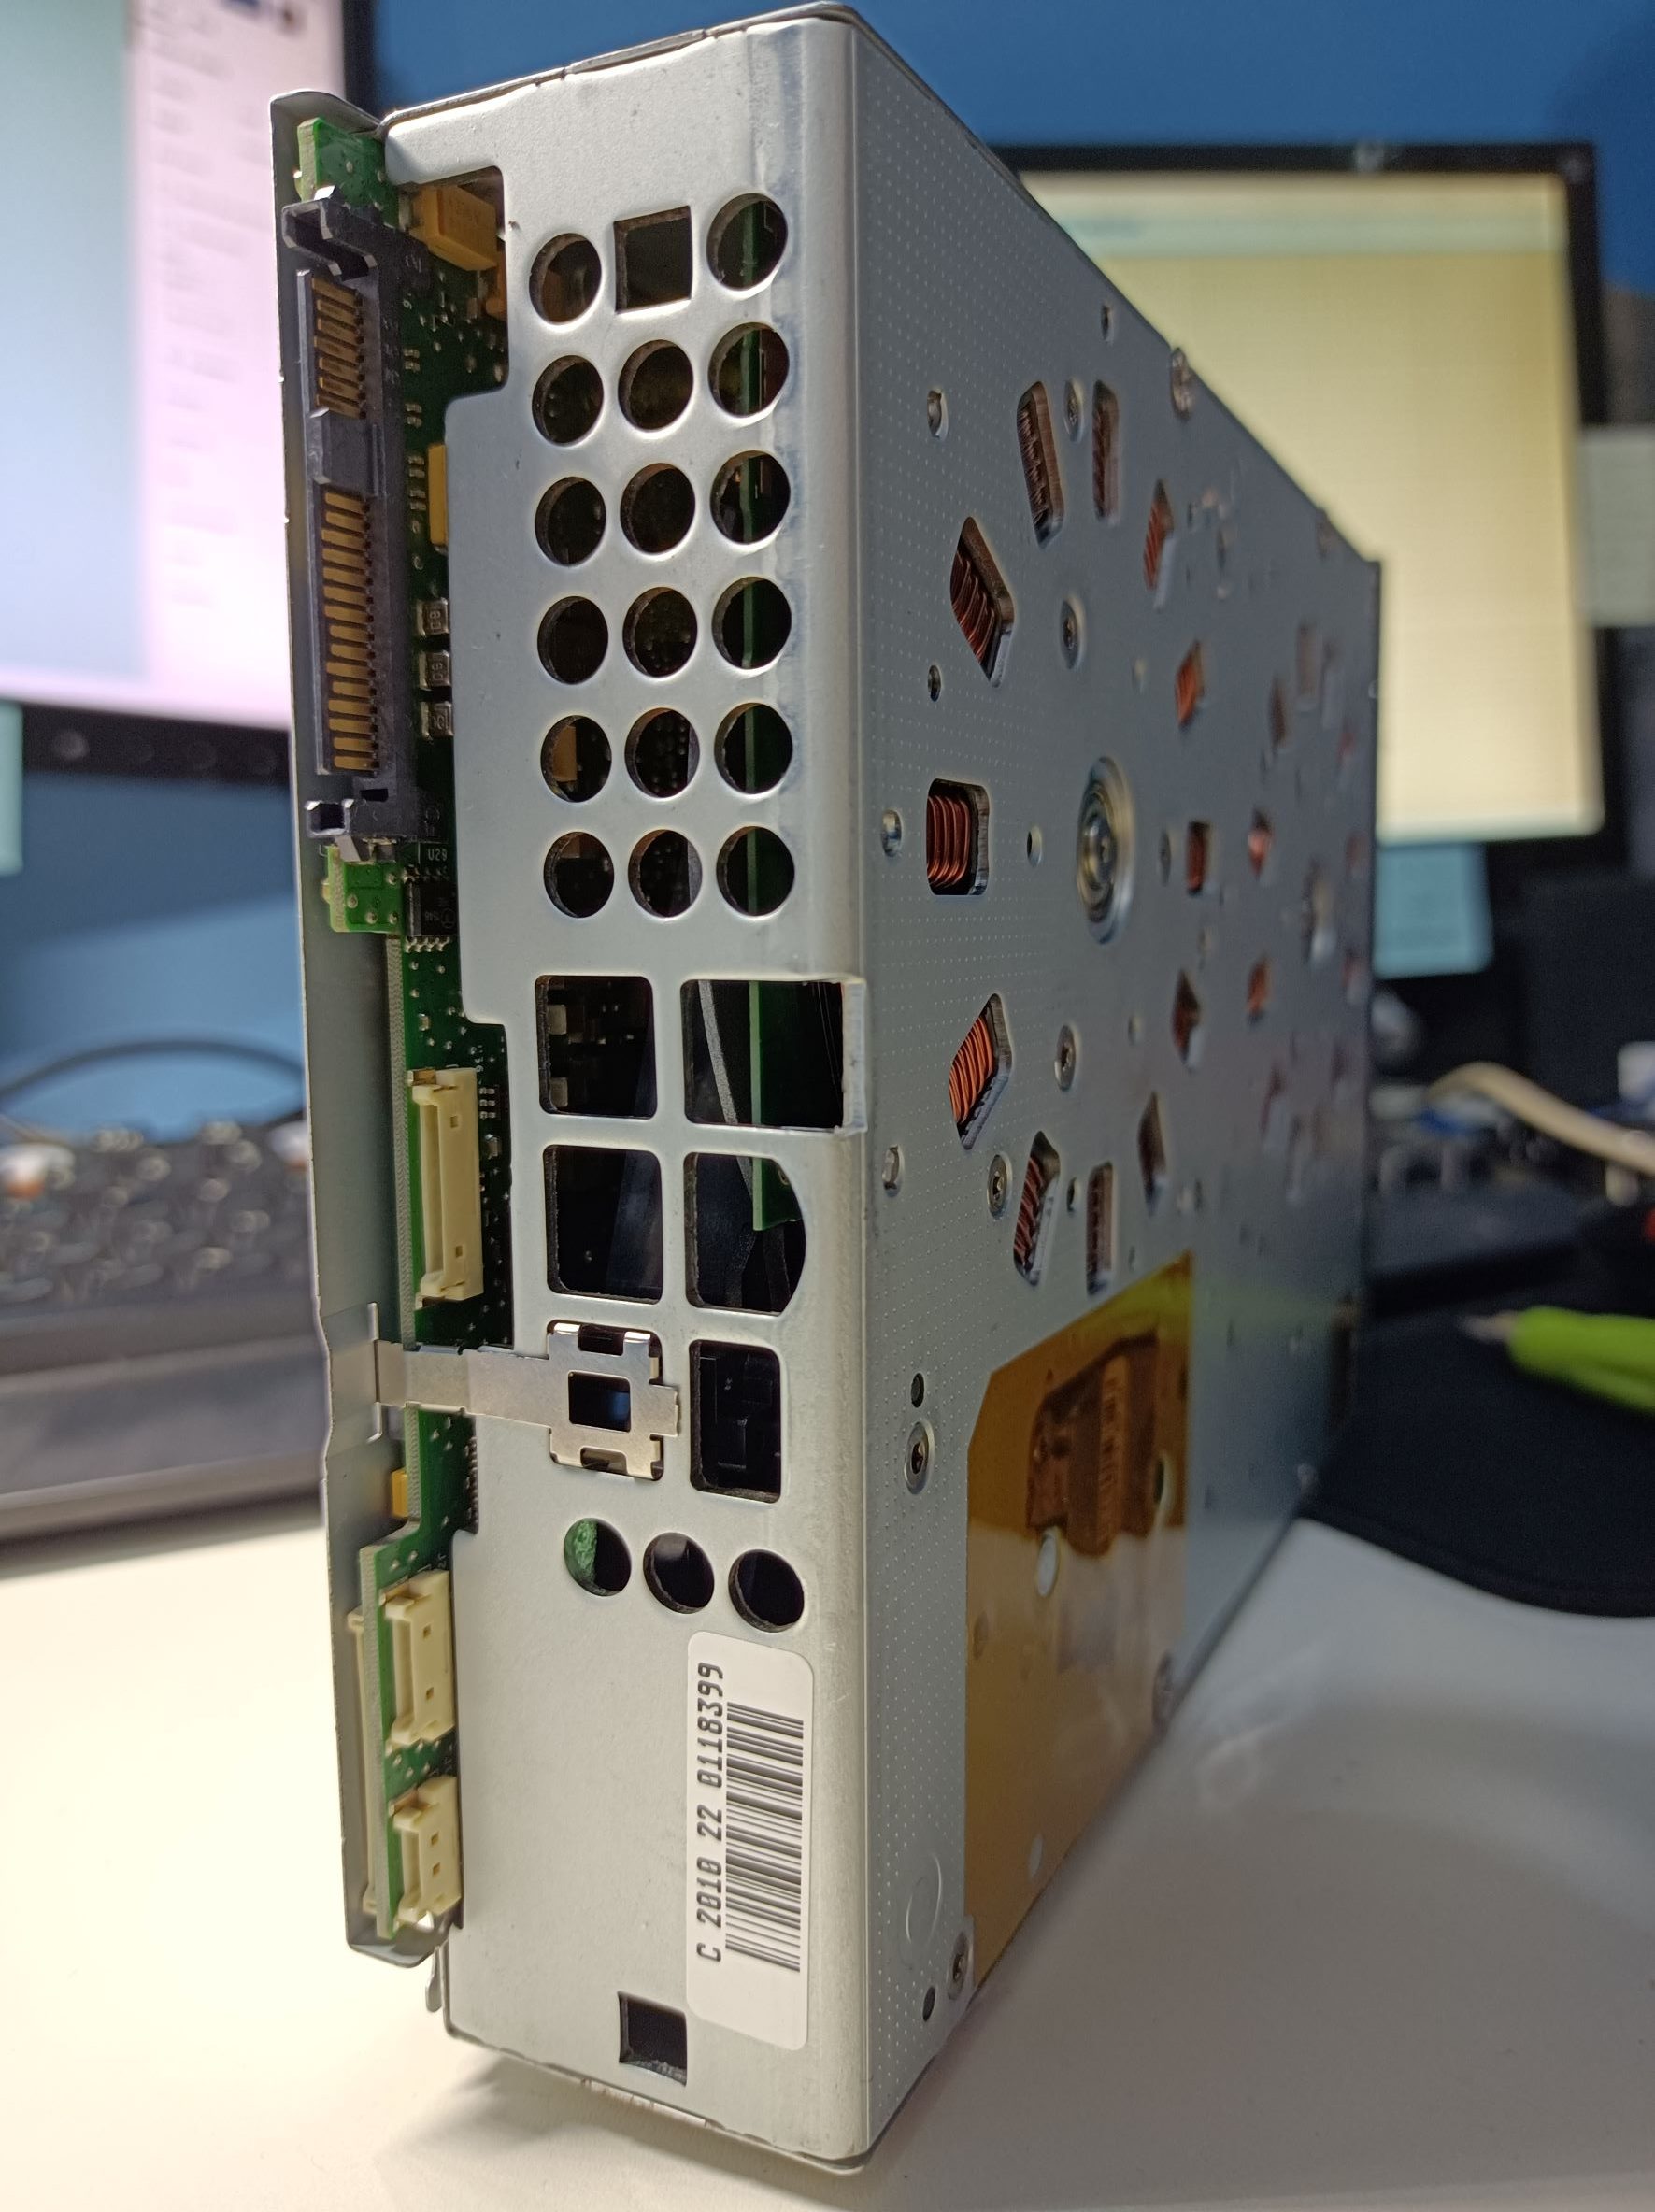
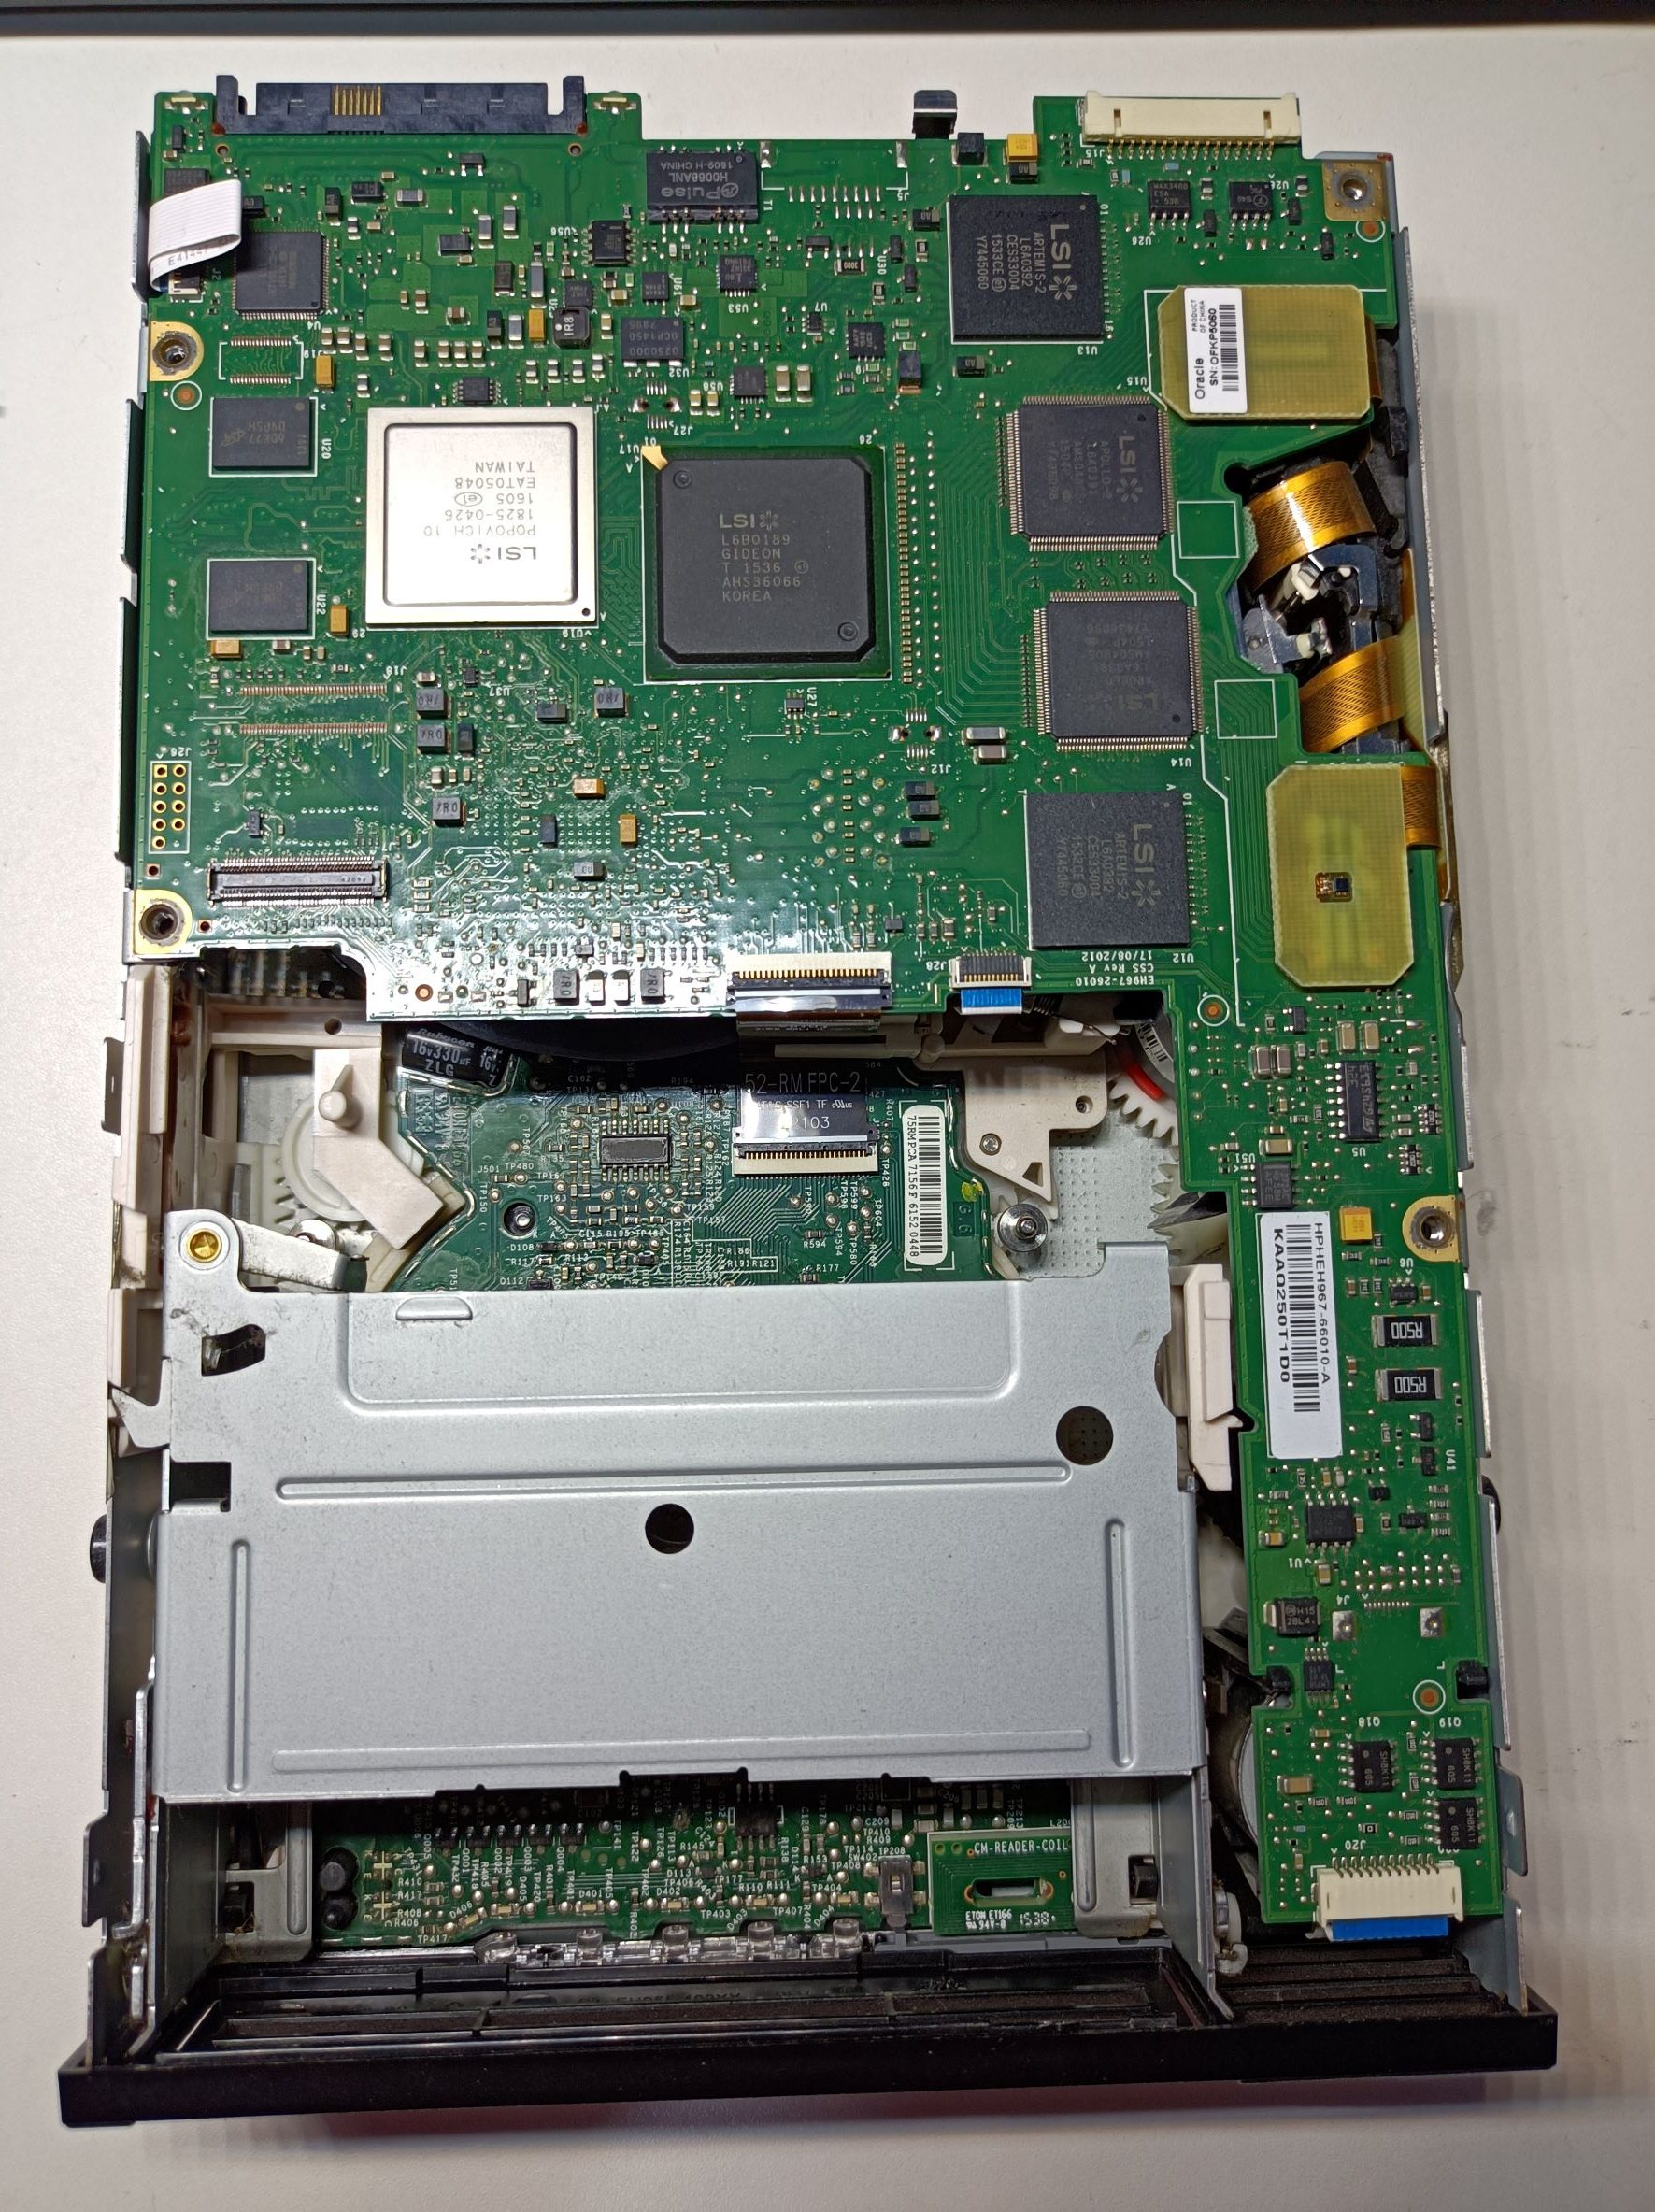
Here are some photos of the internal tape drive. The complexity of the internal mechanisms and how everything fits together in such a small space always amazes me. And it looks cool.
The Power Supply
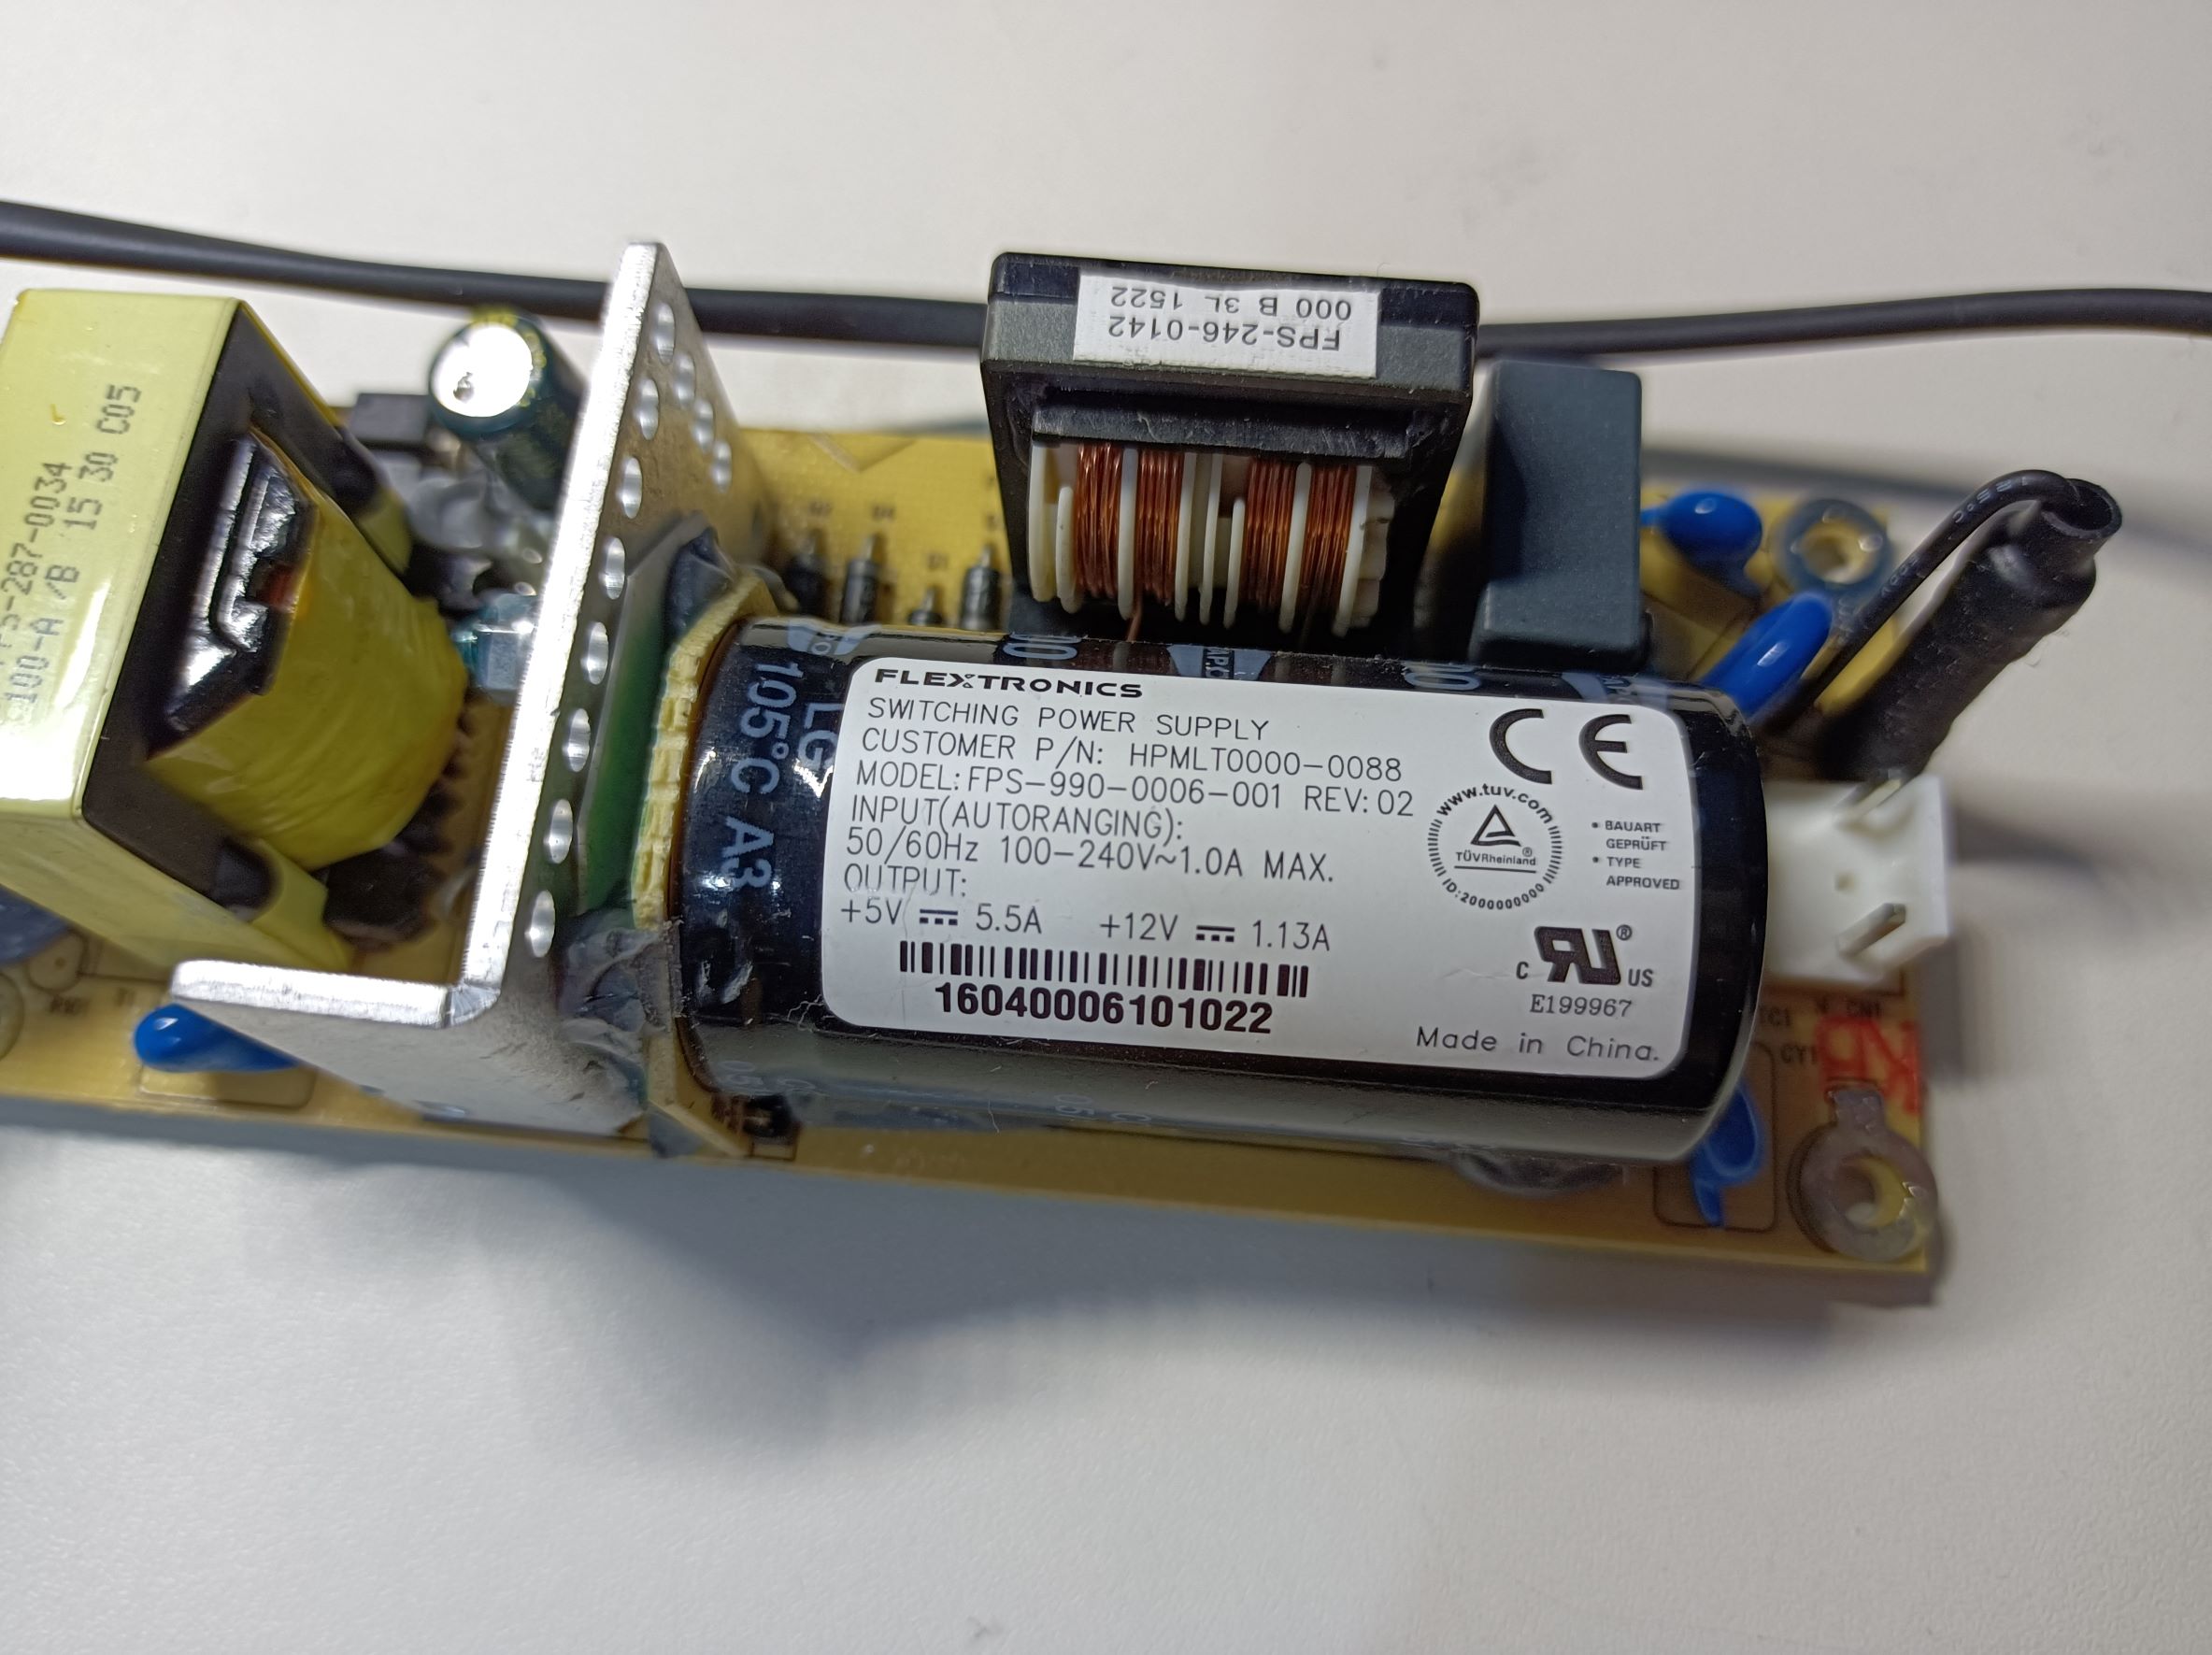
The power supply is made by Flextronics, HP part number: HPMLT0000-0088, and model: FPS-990-0006-001. The rated output is 5V 5.5A and 12V 1.13A (lower than the internal drive requirement of 2A – maybe it doesn’t actually need that much?). It’s a flyback converter using the TOP247YN controller which has a built-in power MOSFET – pretty typical in this kind of application. The power supply also has an LM339AN quad comparator, likely for various output protections.
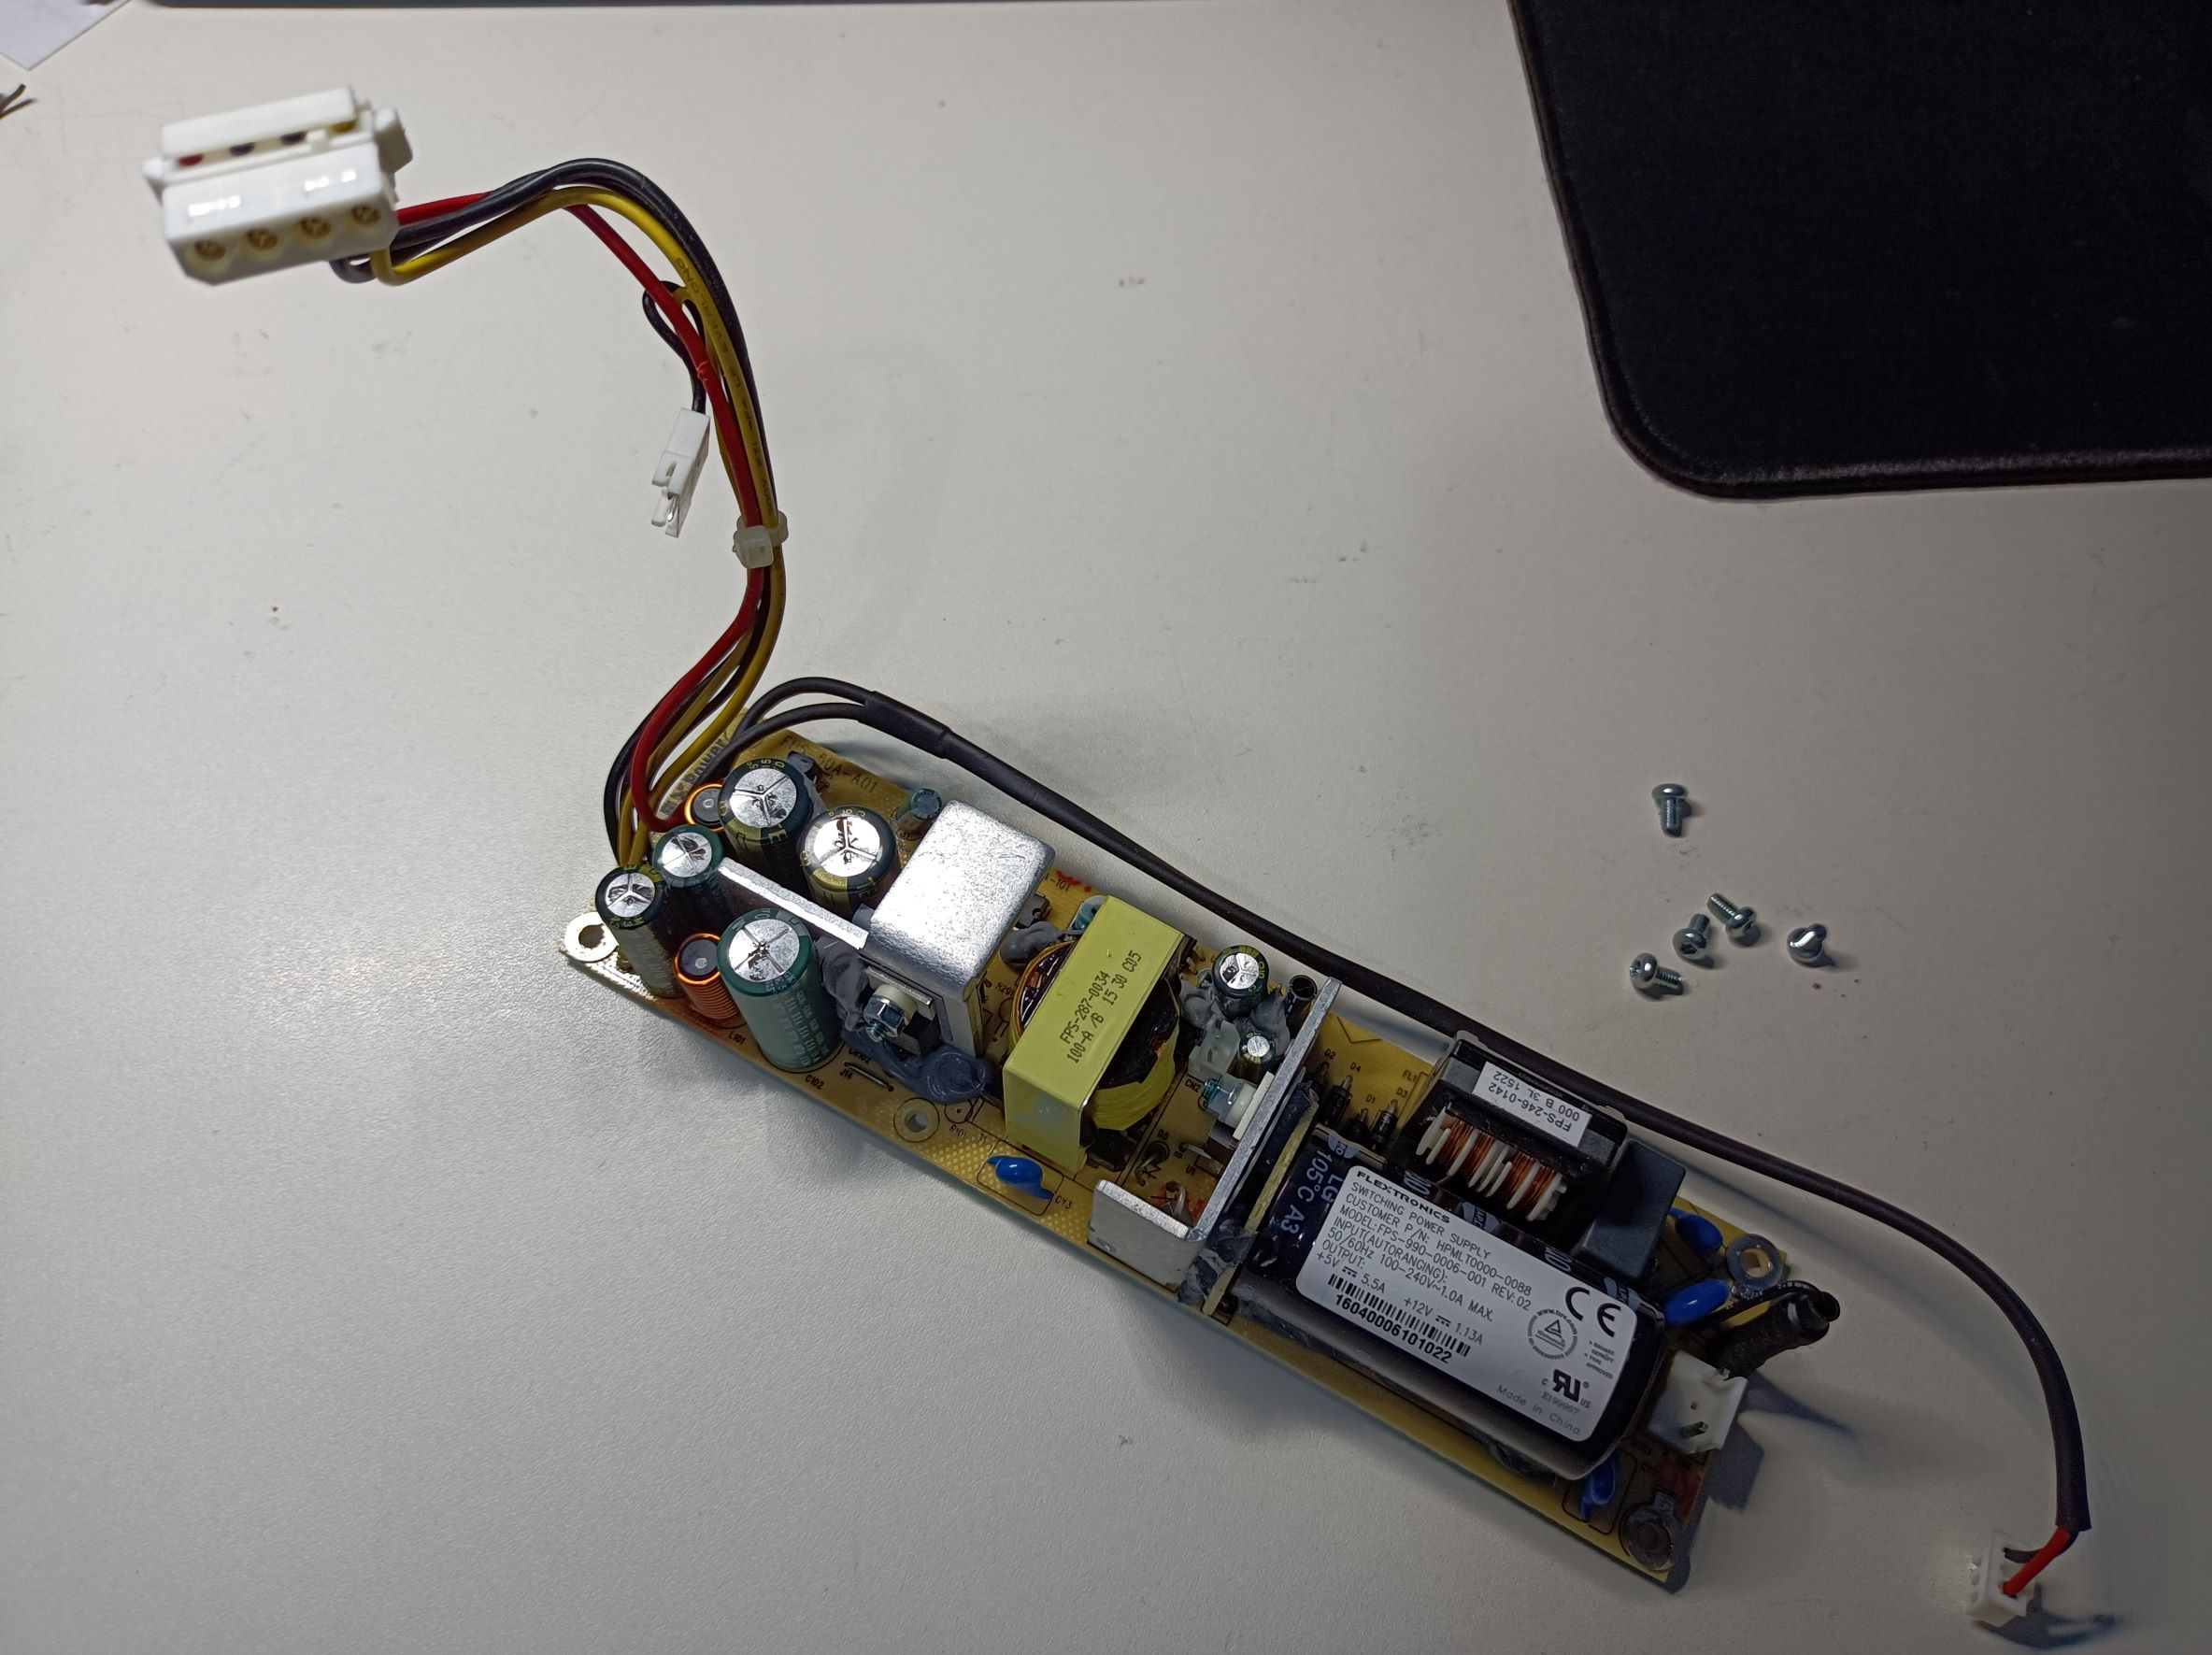
I also noticed there are some load resistors connected to the output. They provide a minimum load to limit the output voltage and stress on the primary MOSFET under light loads (there is probably a minimum duty cycle of the TOP device that’s not zero). The R102x resistors connect to the 12V rail, and they are three 200-ohm resistors in parallel, making a total resistance of 67 ohms. The 5V rail is connected to the R204x resistors, with a total resistance of 33 ohms (two 200-ohm and two 100-ohm in parallel). The slight discolouration suggests they get quite hot – 2W on the 12V rail and 0.8W on the 5V rail is not little for the 1206 package. This probably also made the capacitors degrade faster. Each rail has a Pi filter to ensure a smooth DC is supplied to the tape drive, as shown in the photo below.

Fixing the Capacitors
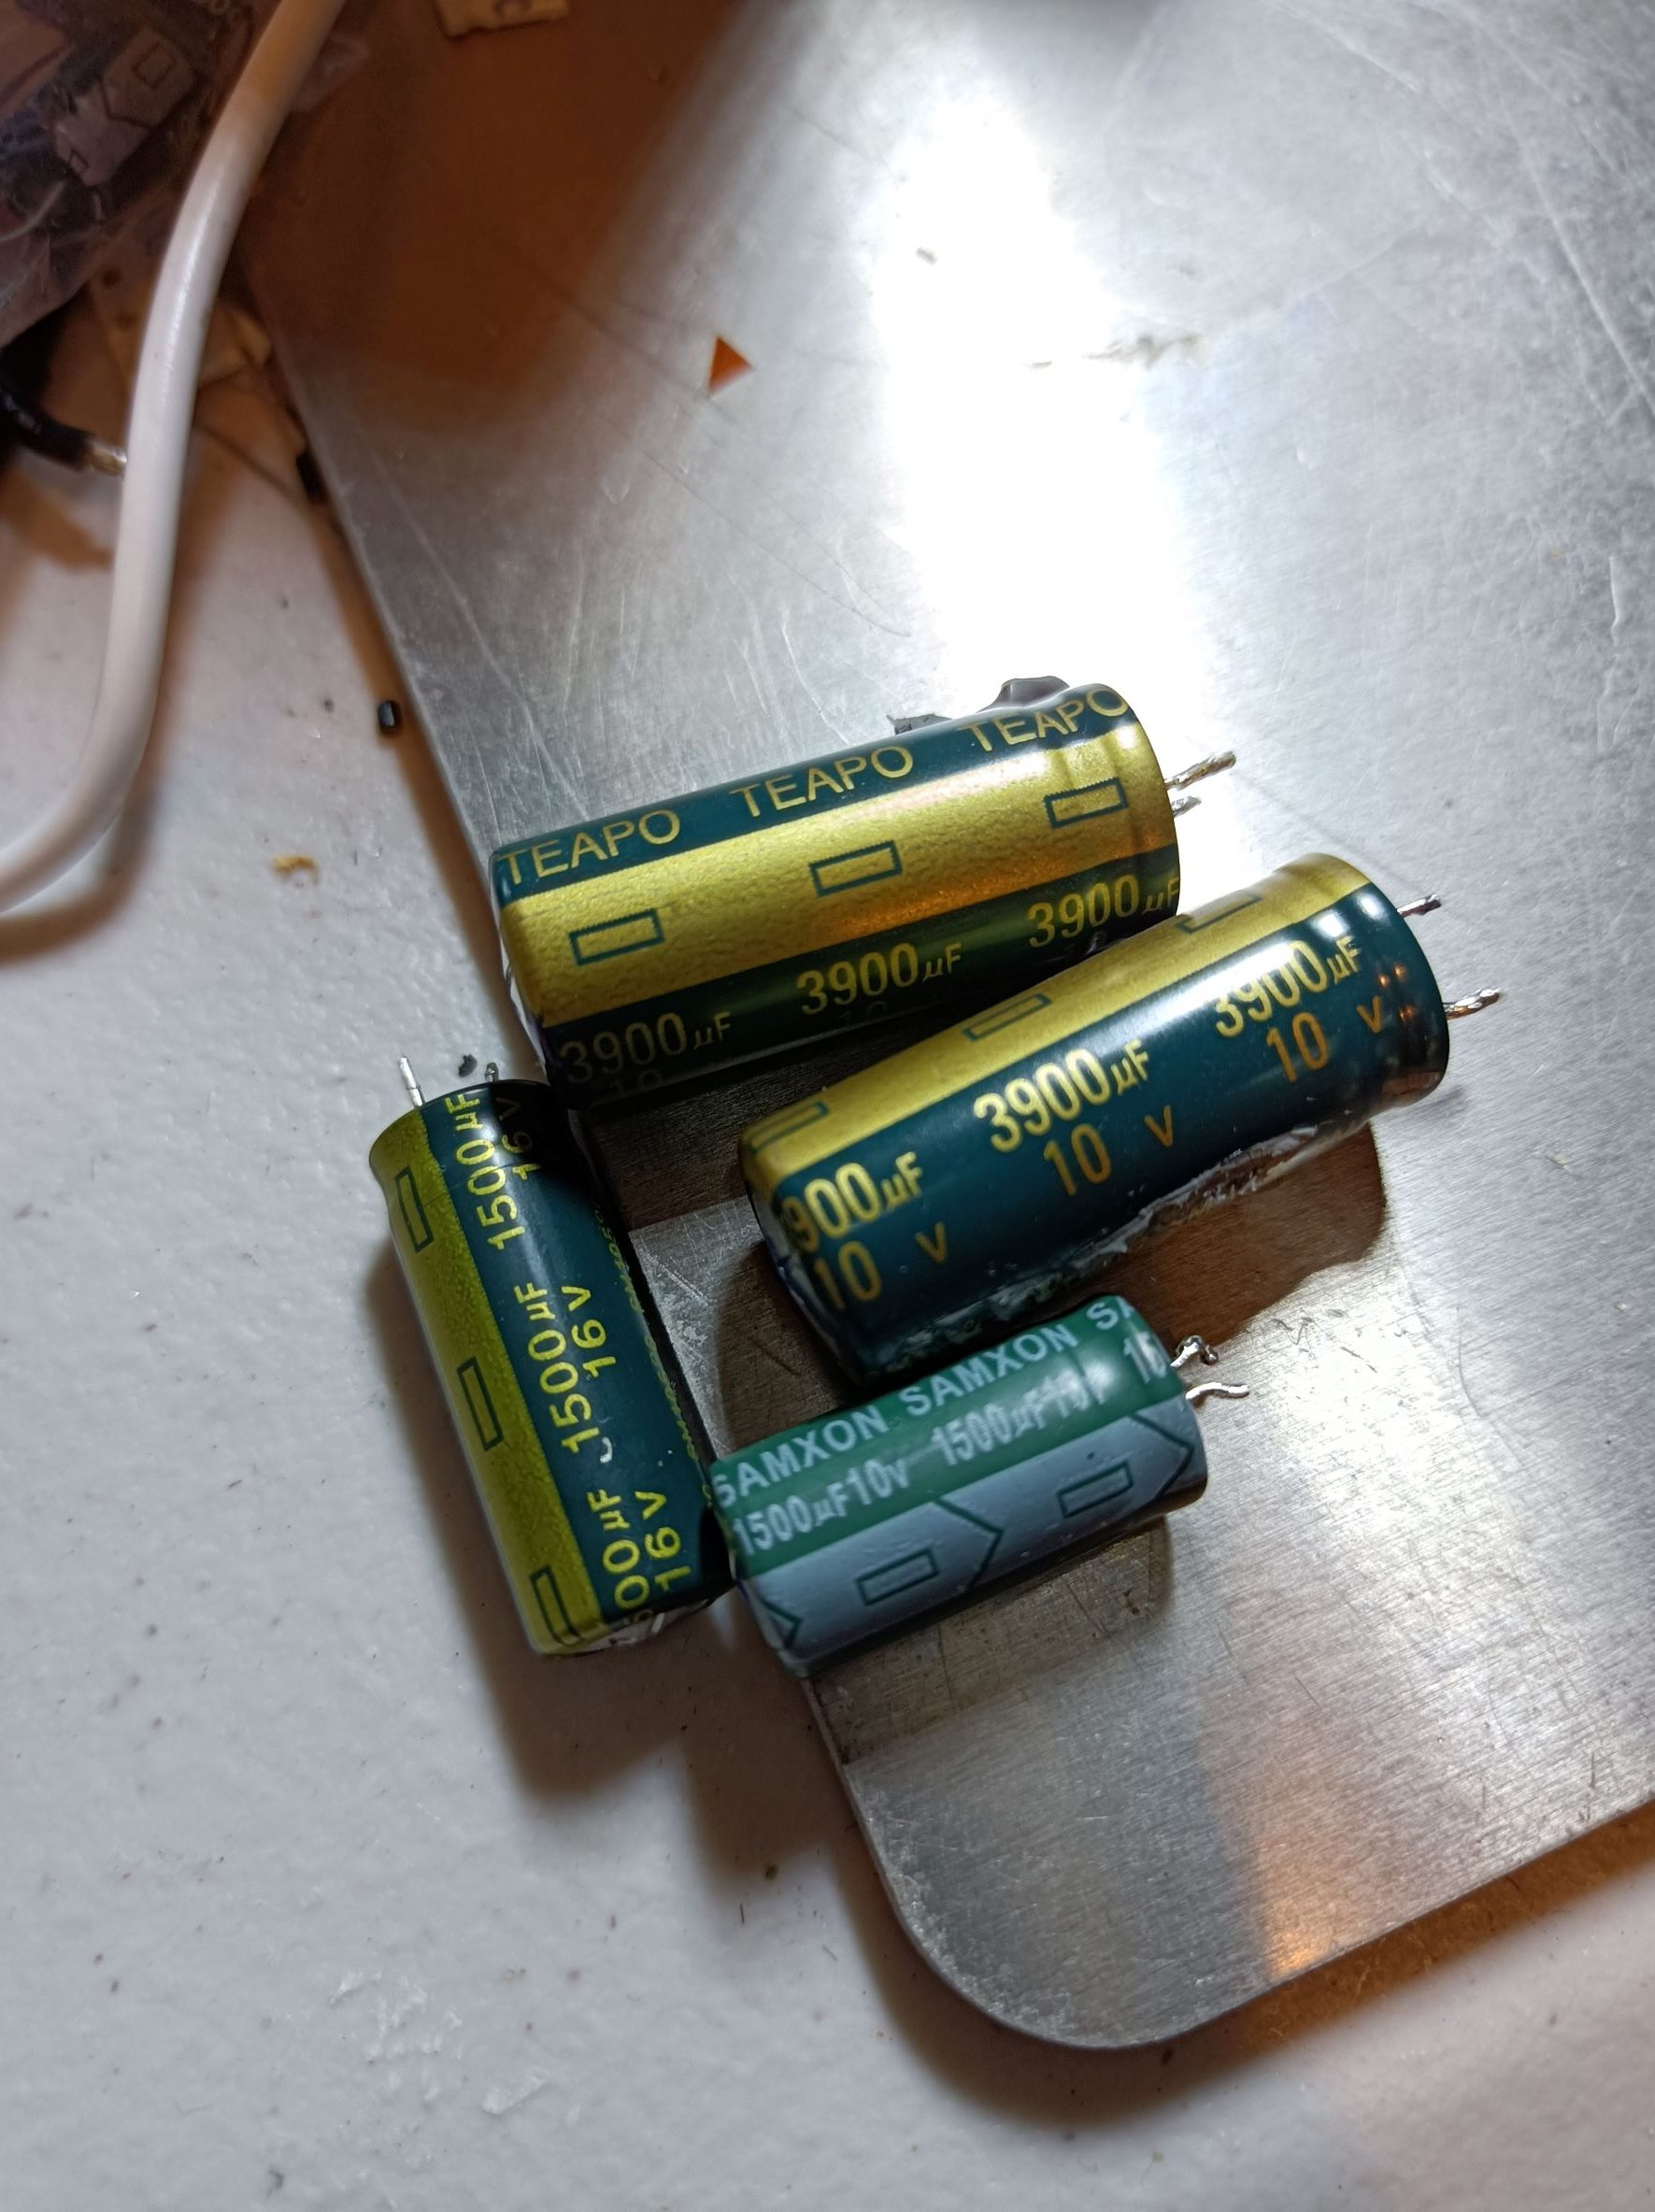
This is the easy part; Just replace the capacitors. Here’s a table listing the output capacitors:
| Designator | Rated voltage | Rated capacitance | Rail | Location |
| C102 | 25V | 2200uF | 12V | Before L |
| C103 | 16V | 1500uF | 12V | After L |
| C206 | 10V | 3900uF | 5V | Before L |
| C202 | 10V | 3900uF | 5V | Before L |
| C203 | 10V | 1500uF | 5V | After L |
In my case, one drive had all but C102 failed, and the other had all but C206 failed. As I didn’t have the exact matching capacitors for all, I used capacitors rated 16V 1800uF for C103, 16V 4700uF and 10V 3300uF for C206 & C202, and 10V 1000uF for C203. These values have been working well since the fix. Before connecting the power supply to the tape drive, I quickly checked the outputs with an oscilloscope to confirm they look alright.

What’s Next?
Now that I have a working tape drive, I’m planning to set up some sort of basic media library for all the video content. The slow seek time of the tape means it would only be good for archival storage – it won’t replace the hard drives for sure. But maybe I can only have one hard drive instead of two, and use tape as the backup. I would need some sort of database to keep track of all the files, their location and a hash of the file to know which one is the good copy when a bit is flipped. Anyway, still yet to be figured out and that’ll probably be another post 🙂