Recently I discovered how handy a small and inexpensive tablet can be for stuff like reading e-books or connecting to Bluetooth serial for debugging embedded applications. Not quite sure how much I actually needed it and didn’t want to spend much on a new tablet, I came across a bulk listing of 10 faulty Google Nexus 7 tablets only for $100. These have 2GB of RAM, 16GB internal storage and a quad-core CPU at 1.5GHz. Not flashy by today’s standards, but my requirements are also not demanding, so it could work. The seller didn’t check the conditions of the tablets (likely got them decommissioned from a business) and said they should all be treated as faulty.
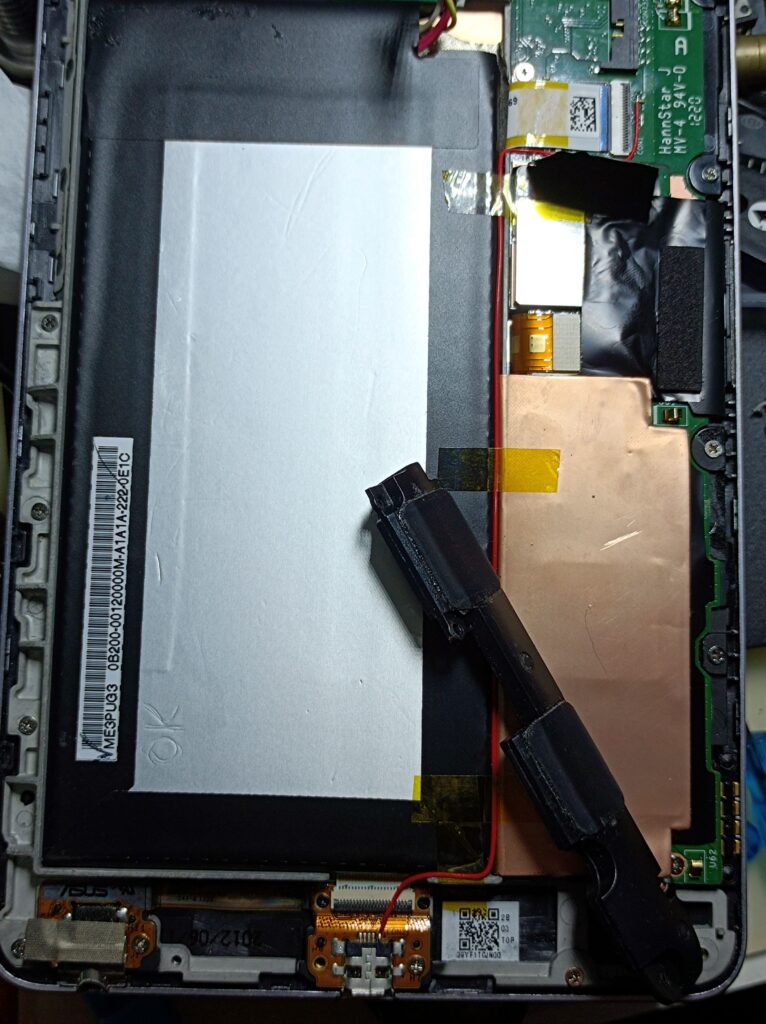
Before this, I got a non-working 2012 version of the tablet for $1, and the problem turned out to be just bad connections in the internal FPC cable for charging (the overall resistance was about 3 ohms if I remember correctly). This made charging really slow, and I managed to fix it by just soldering an AWG 30 wire between the motherboard and the charging board to bypass the FPC power connection (scrubbing the FPC contacts with an eraser didn’t help much). Since Nexus 7 is easy to pull apart, and my experience using the stock Android on an even older version of the tablet (1G RAM, 16G Flash) had been positive enough, I thought I could give it a go at getting at least some working devices out of 10 broken ones.
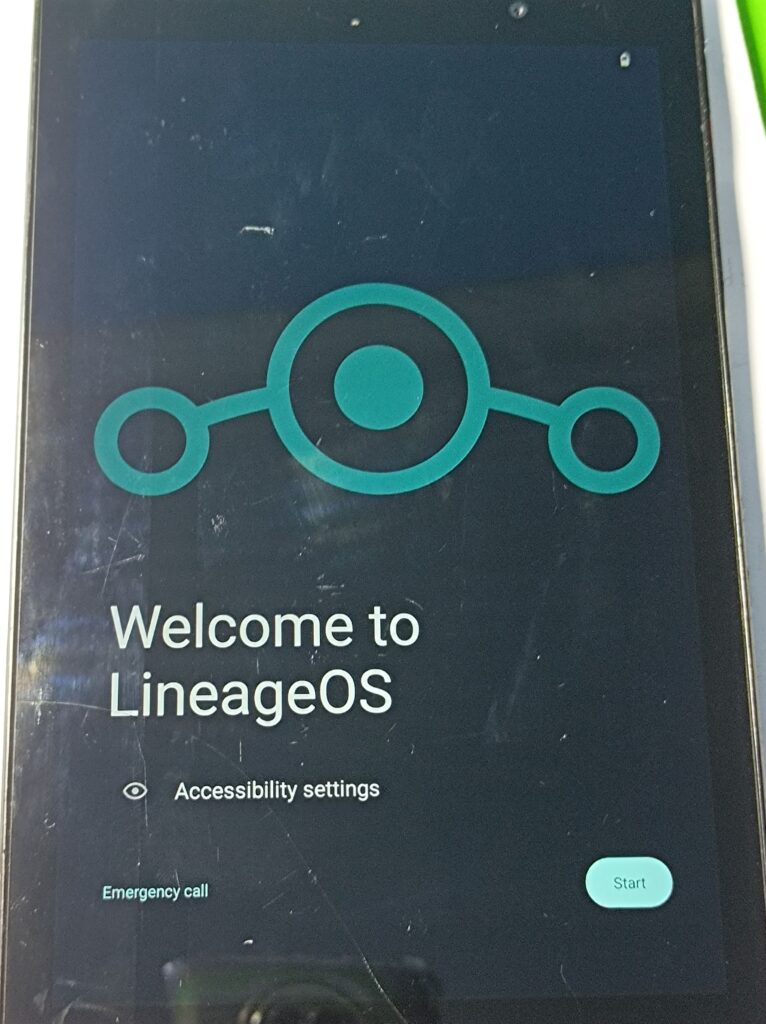
So I placed the order, checked them, and ended up with 2 tablets that actually didn’t need any fixing (although some had cracked screen glass, that’s cosmetic), that’s a good start! They were still running the stock Android 6 (marshmallow) as that’s the latest official system, and I would like to have a more modern system running on them. From a quick search, it didn’t seem that hard, so in this post I record the steps I took, both for my future reference and hopefully be useful for someone else. I flashed an unofficial build of LineageOS 20, which is based on Android 13, before installing Google Apps using the MindTheGapps package.
Disclaimer
The official support for this device, both from Google and LineageOS, ended years ago. Wrong operations during the flashing process could potentially brick the device. If you want to follow the steps here, do it at your own risk. Backup any important data before beginning, as the process will wipe everything on the device.
The steps listed here may contain incorrect details or have unknown implications in the future, but that’s what worked for me (and a week of normal usage without problems). It’s also my first time touching custom Android ROMs in about 10 years (funnily enough, the last time was flashing my Nexus 5 to unlock 4G bands), so I’m probably a lot less experienced in this stuff compared to an average XDA forum user.
Setup
As mentioned before, the device I used was the 2013 version, without cellular connectivity (the “flo” variant). Much of the steps I took are based on this great blog post, which used the images built by forum user “followmsi” at this XDA forum thread.
For the adb and fastboot tools, I used an HP T610 under my desk running Ubuntu 22.04. I chose this largely because I can easily install both tools using apt with one command and not worry about getting them set up on Windows, which involves a few more steps. I just uploaded the required image files to the T610 using FileZilla over SSH and ran the commands in an SSH window.
Required files and tools
As mentioned before, the files I used were built by “followmsi” and can be downloaded from the Google Drive folders shared in the XDA forum thread. The files I used include:
- lineage-20.0-20230830-UNOFFICIAL-flo.zip
- MindTheGapps-13.0.0-arm-20230401_160426.zip
- sysrepart_1380_20.zip
- twrp-3.7.0_9-1-flo_followmsi.img
The Google Drive shared folder also contained the SHA256 and MD5 checksum for the images. They can be checked using sha256sum and md5sum tools included in Ubuntu.
Flashing LineageOS
Just to reiterate, all important data on the Nexus 7 should be backed up at this point. The first step (unlocking the bootloader) will wipe everything on it.
To unlock the bootloader of the device, turn it off and hold down both the Power and Volume Down buttons. Plug in the tablet to the PC that will be running the adb and fastboot tools. This will place the device into fastboot mode, ready to accept commands over USB. Run this command from the PC:
fastboot oem unlockIf the PC says “waiting for any device”, stop the program using Ctrl+C, unplug the USB cable, reboot the tablet into the bootloader, plug the cable back in and rerun the fastboot command.
The tablet will prompt for a confirmation of the bootloader unlock, as this will wipe all data and potentially introduce instabilities. Press the Volume Up/Down button and then the power button to confirm.
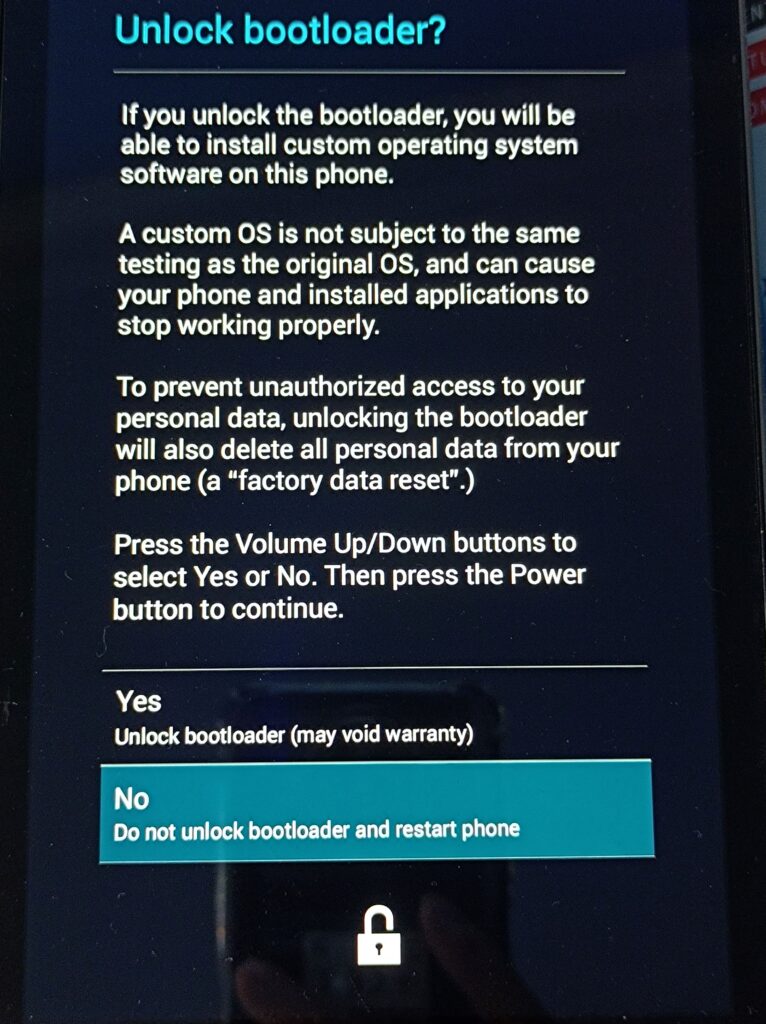
After a brief moment, the bootloader will be unlocked and the device will return to the bootloader, ready to accept more commands. The last line on the screen should now say “LOCK STATE – unlocked” instead of “LOCK STATE – locked” as previously. Now boot into TWRP using fastboot:
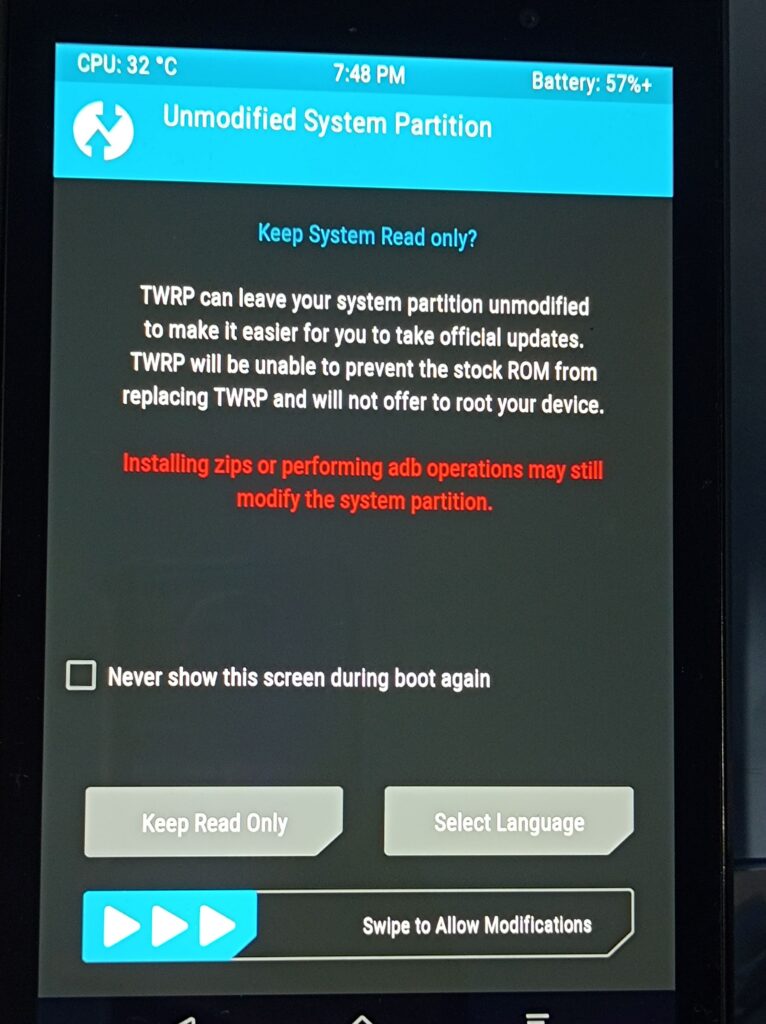
fastboot boot twrp-3.7.0_9-1-flo_followmsi.imgA few moments later, the TWRP screen will appear, it’ll switch to a terminal view briefly with some lines of red text (some mounting errors), and then the tablet will reboot. Now the tablet will boot into the Android system and take a few minutes, possibly setting up the stock system after a factory reset. After that’s done, power off the tablet and enter the bootloader again by holding the Volume Down and the power buttons. Re-run the above command to try again. This time, it should get into the TWRP screen asking about write access. Swipe to allow write access to the system partition.
After that, the tablet should be on the main menu screen of TWRP. Select “Wipe”, then swipe to run a factory reset. This clears the Data, Cache, and Dalvik partitions. Then tap “Advanced Wipe”, check the “System” option and swipe again to also wipe the system partition. Now, return to the main menu, tap “Advanced”, then “ADB Sideload”, then swipe to make the tablet ready to receive sideload packages. On the PC, run the following to resize the partitions (this is required to fit the newer, bigger system):
adb sideload sysrepart_1380_20.zipAfter that’s done, reboot into the bootloader (fastboot mode). Boot TWRP again by running this on the PC:
fastboot boot twrp-3.7.0_9-1-flo_followmsi.imgRepeat the process in TWRP (tap “Advanced” then “ADB Sideload” then swipe) to get into ADB Sideload mode again and run the following:
adb sideload lineage-20.0-20230830-UNOFFICIAL-flo.zipNow the tablet will start installing the LineageOS build in TWRP. If it fails halfway (this can happen due to bad cable connections), try wiping the system partition and running the sideload process again.
Now LineageOS should be successfully installed!
Installing GApps (MindTheGapps)
If you don’t need Google Apps, then this is all done. If you are like me who did need Google Apps, then read on. To flash the MindTheGapps package, go back into ADB Sideload mode again and run:
adb sideload MindTheGapps-13.0.0-arm-20230401_160426.zipWhen trying to flash the GApps package after flashing the LineageOS, I was faced with this error:
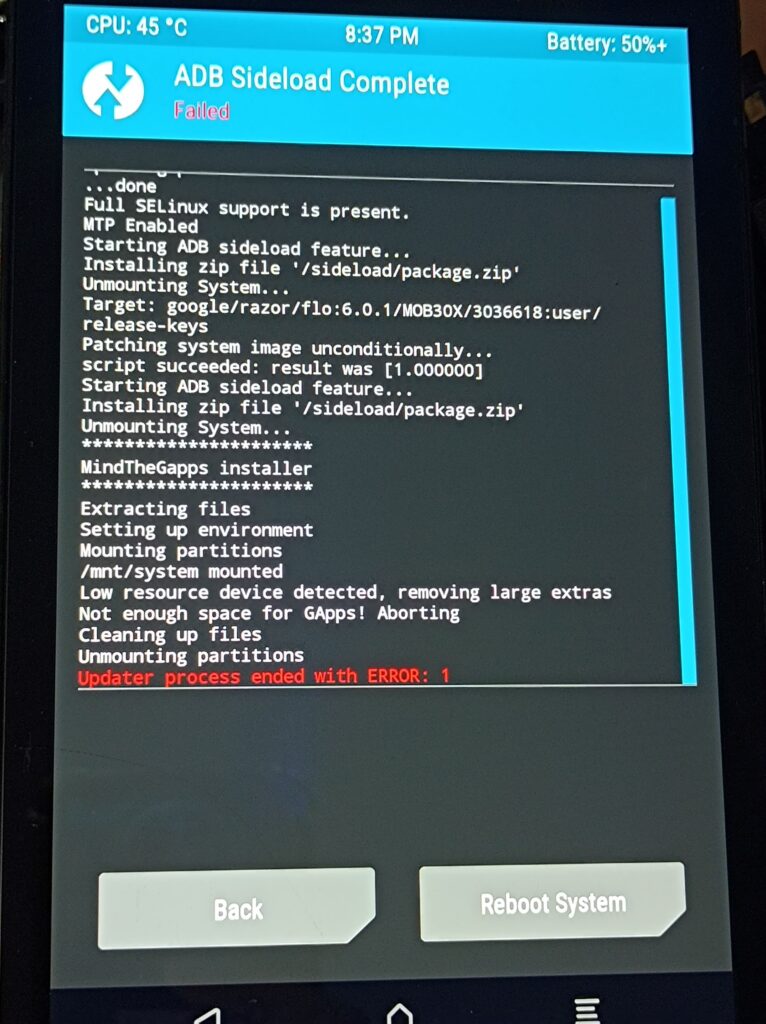
After some digging involving the terminal in TWRP and inspecting the contents of the zip file, I confirmed there was indeed not enough space, at least according to the MindTheGapps installation script’s calculations (found in the zip, at META-INF/com/google/android/update-binary). However, the size difference was only a few megabytes so I tried to look at apps to manually remove (either from the MindTheGapps package or LineageOS) and free up space. That was when I noticed there’s a variable called STORAGE_BUFFER in that script that was used for calculating the remaining space:
...
error_no_space() {
  error "Not enough space for GApps! Aborting"
}
...

...
compute_apps_size() {
  NEEDED_STORAGE_SYSTEM=$(expr $(du -cs `find -maxdepth 1 -mindepth 1 ! -name product ! -name system_ext` | tail -n1 | cut -f1) + $STORAGE_BUFFER)
...

...
STORAGE_BUFFER=10240

cd system
compute_apps_size

if [ "$SYSTEM_STORAGE" -lt "$NEEDED_STORAGE_SYSTEM" ]; then
  remove_big_optional_apps
  compute_apps_size
  if [ "$SYSTEM_STORAGE" -lt "$NEEDED_STORAGE_SYSTEM" ]; then
    error_no_space
  fi
fi
...
I’m not familiar with shell scripts, but I could tell the logic was that the remaining space of the device was calculated with this storage buffer included, and a buffer space of 10 MB seemed rather arbitrary to me. My understanding of the system partition in modern Android systems is that it’s typically mounted as read-only, so having little headroom should be acceptable. I then tried changing this variable to 5120 (5MB), packaged the files back into a zip, and repeated the ADB Sideload process to install the (slightly modified) MindTheGapps package. This time it worked!

After that, reboot the system. TWRP will warn that there’s no OS installed, simply ignore it and proceed. Now the tablet will boot into LineageOS to show the setup screen. All done!